All-In-One Restaurant Solutions
Our system is built around a powerful, modular architecture where every application is synchronized in real time. Here’s a quick overview of what our ecosystem enables:
- Cloud POS: The core terminal for processing orders and payments at the counter or table.
- Cloud Administration: Manage items, prices, users, branches, permissions, and settings.
- Smart Kiosk: Self-service terminal with menu sync and Arabic/English support.
- Smart Kitchen App: Digital kitchen screens to coordinate orders faster.
- Smart Menu: QR-based dynamic digital menus always linked to your backend.
- Smart Waiter: Tablet/mobile order-taking for floor service staff.
- Smart WhatsApp: Automated order placement via WhatsApp, integrated into your system.
Register your Company
Our Smart POS is a comprehensive point-of-sale solution designed to streamline your business operations. It integrates seamlessly with your existing systems to manage sales, inventory, and customer data efficiently. To get started with Smart POS, simply register your company by filling out this following easy-to-use registration form. This will give you access to a powerful platform that helps you enhance customer experiences, track performance, and optimize your business processes. For a successful registration, follow the instructions mentioned below:
Click to enlarge
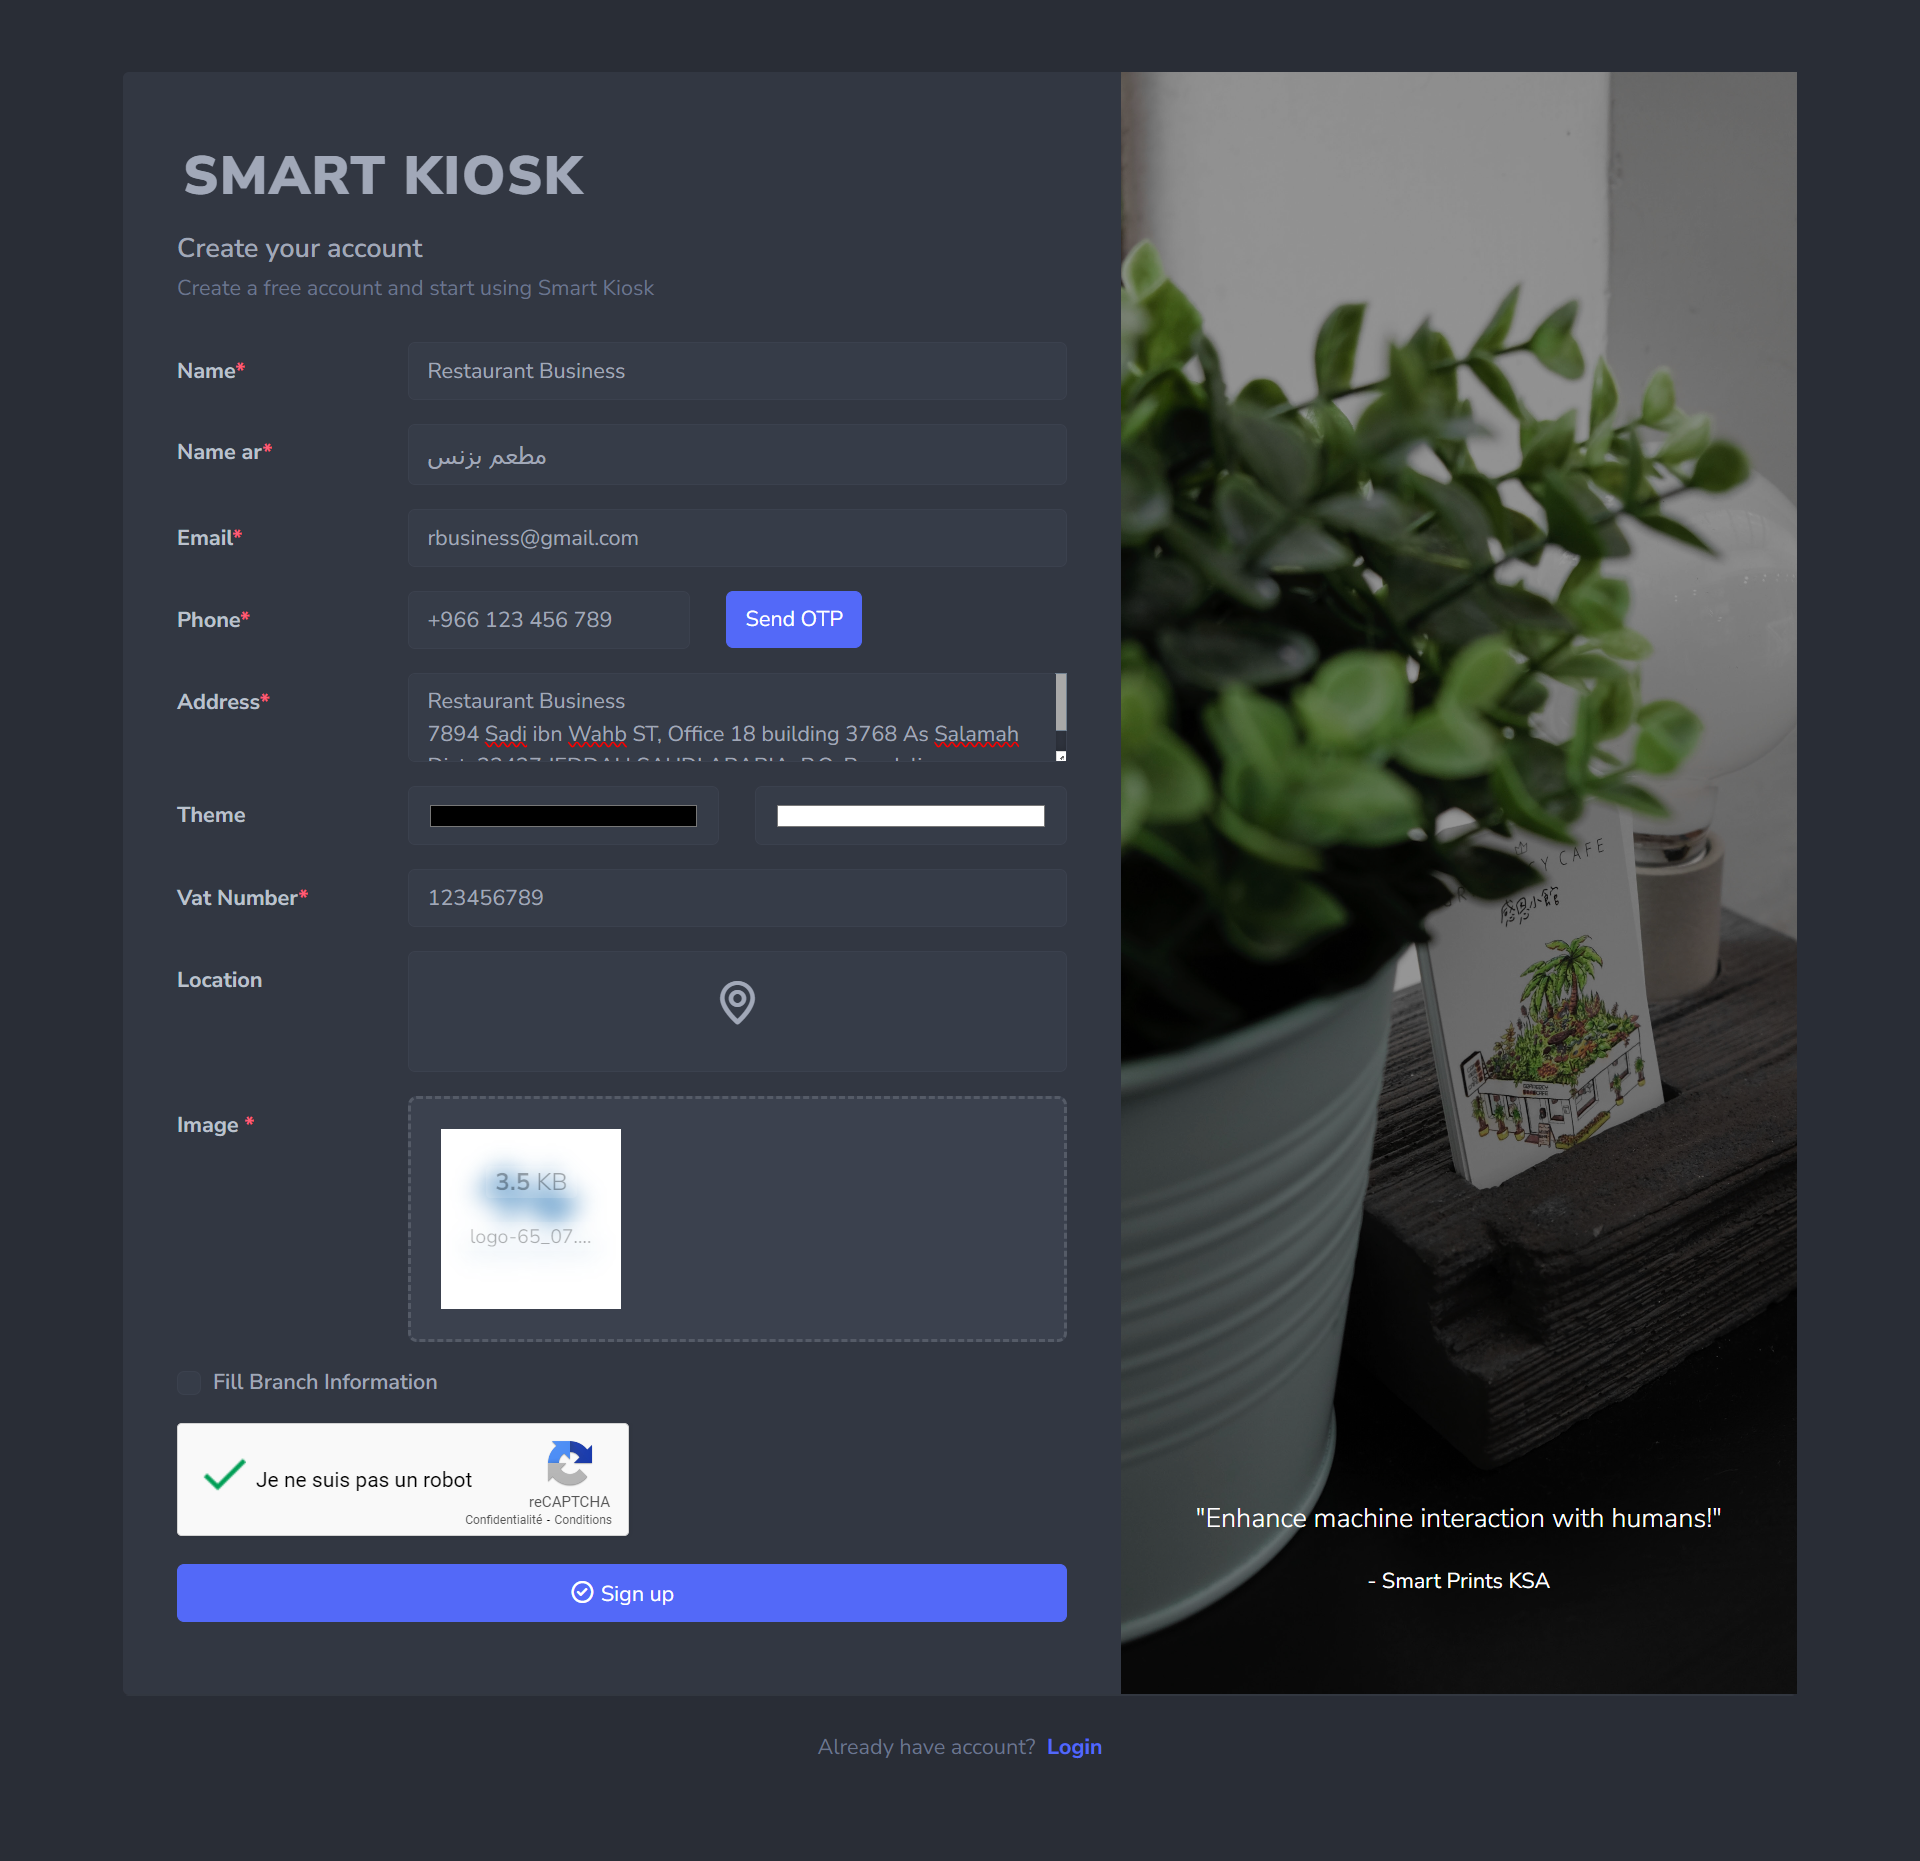
Open the provided link of the POS login form
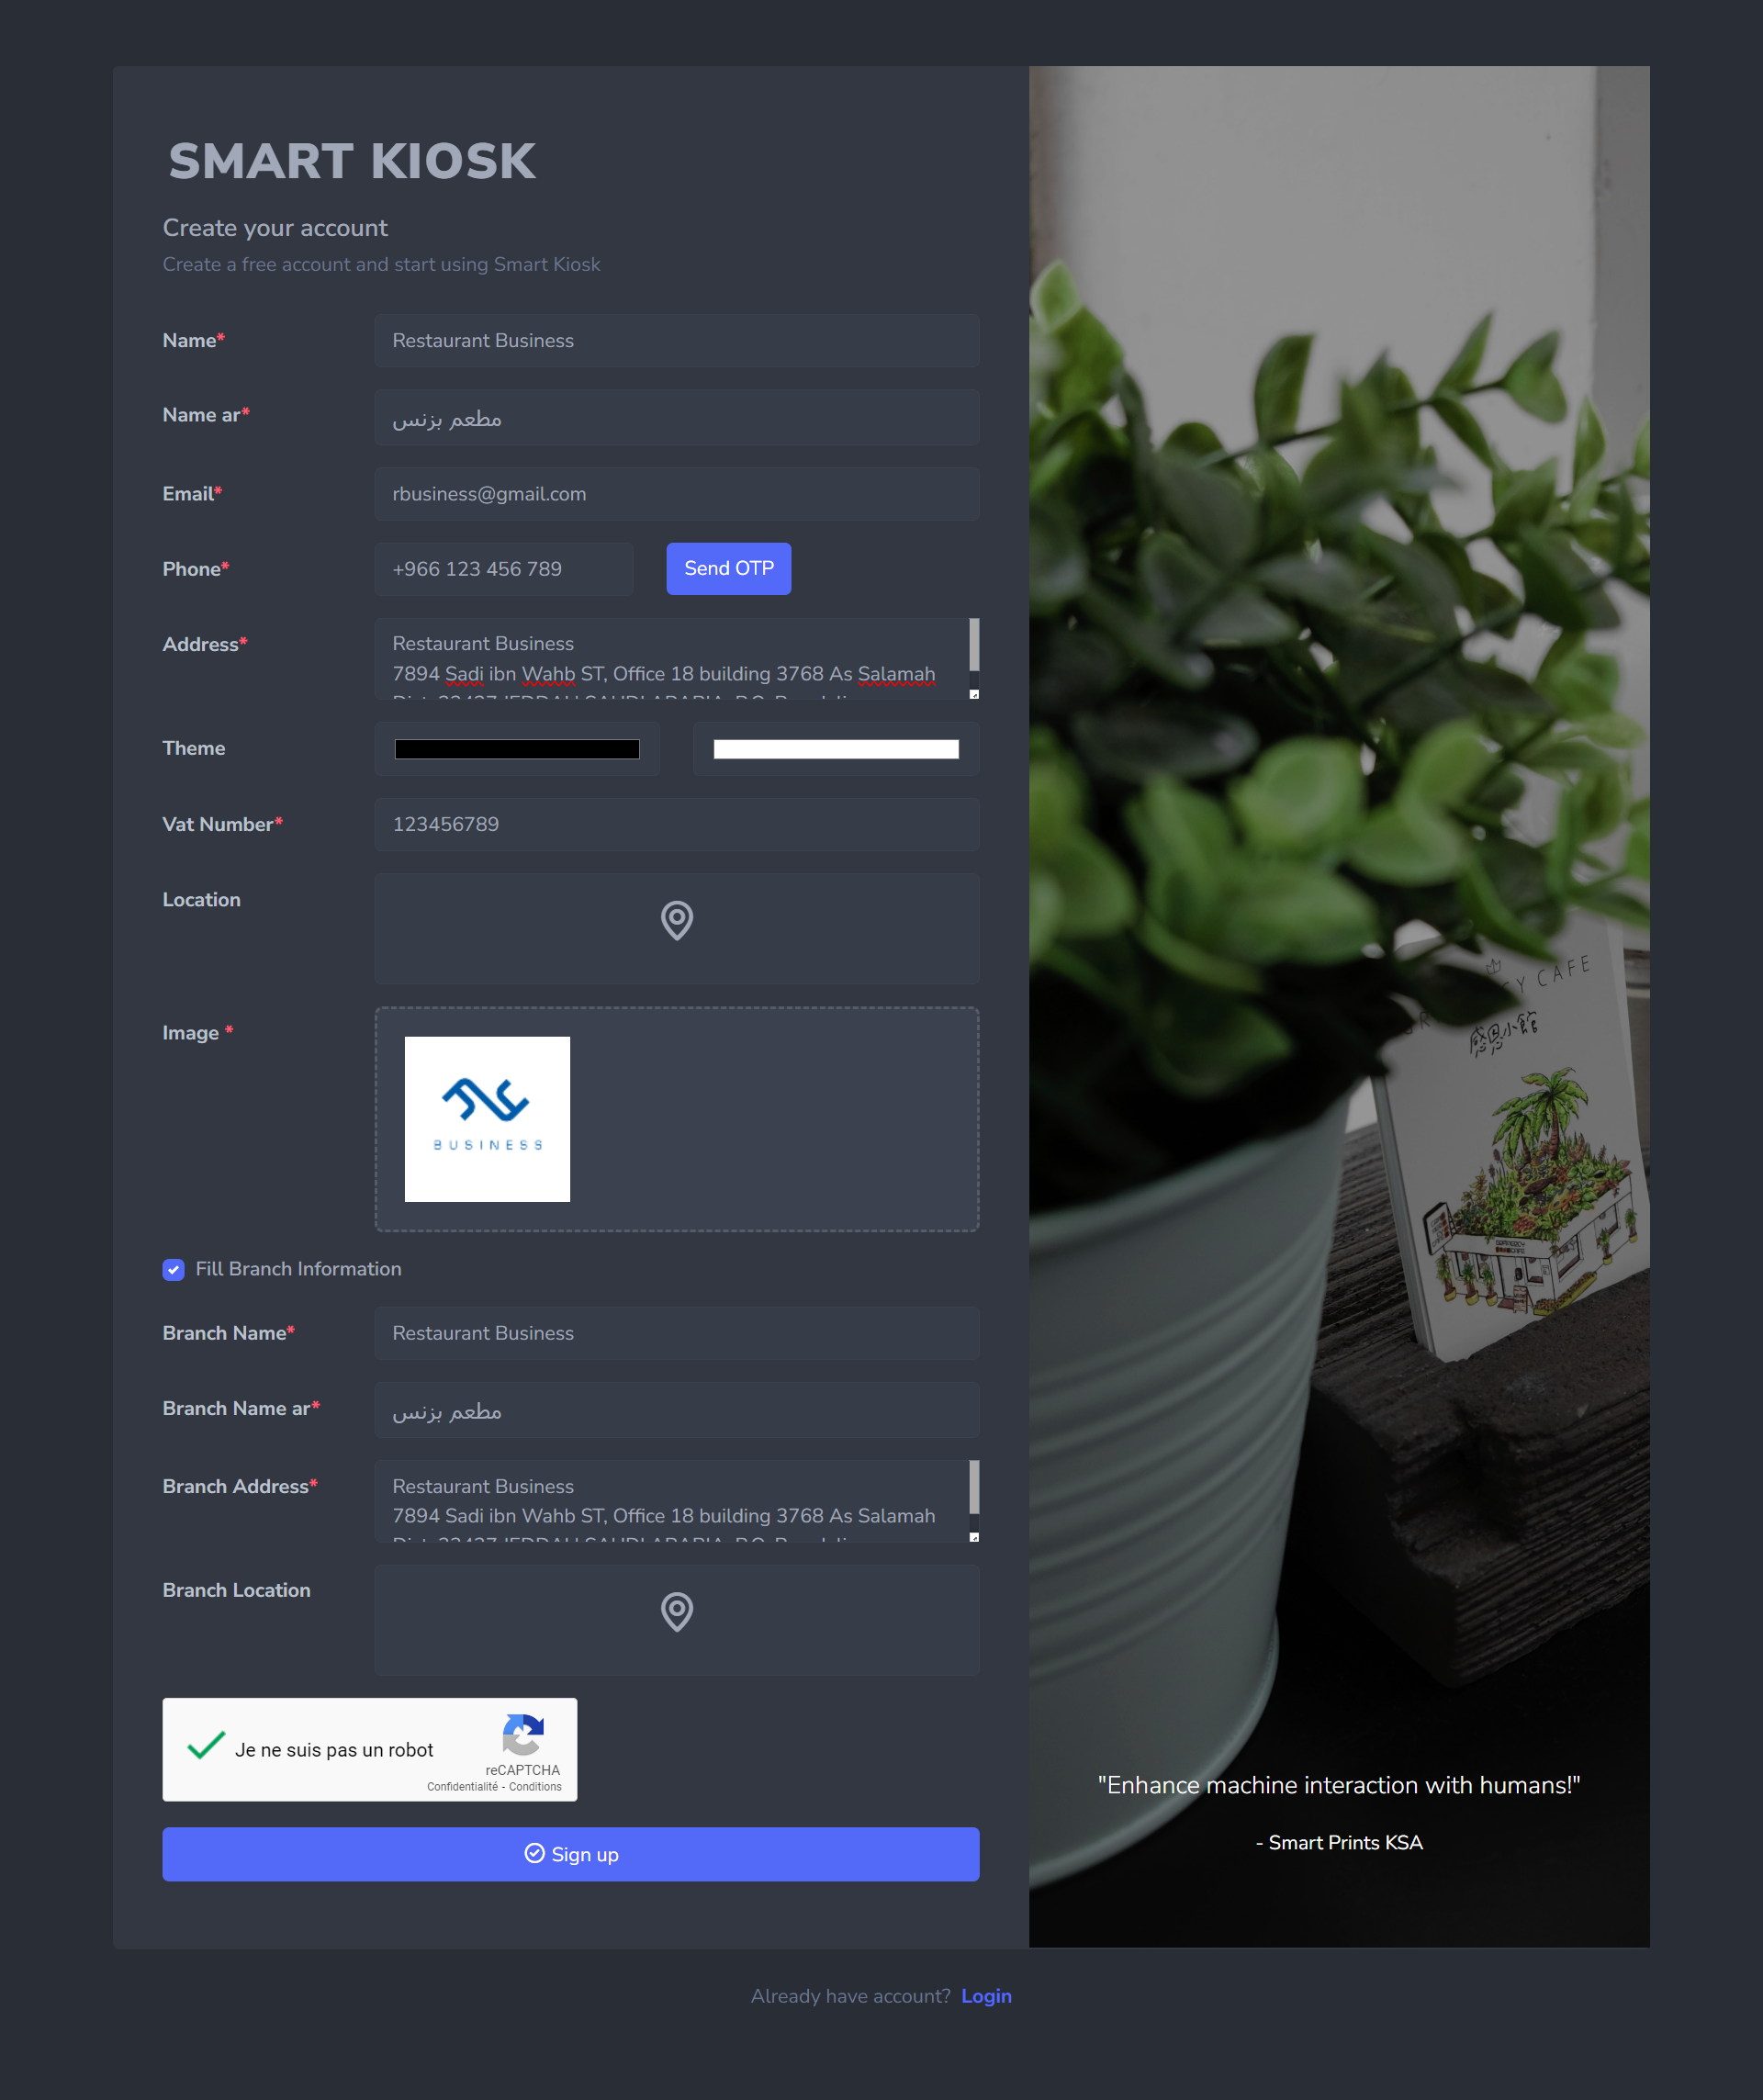
Enter your company's Name in both English and Arabic
Add your phone number then your address
Chose a theme (dark or light mode)
Include you VAT number
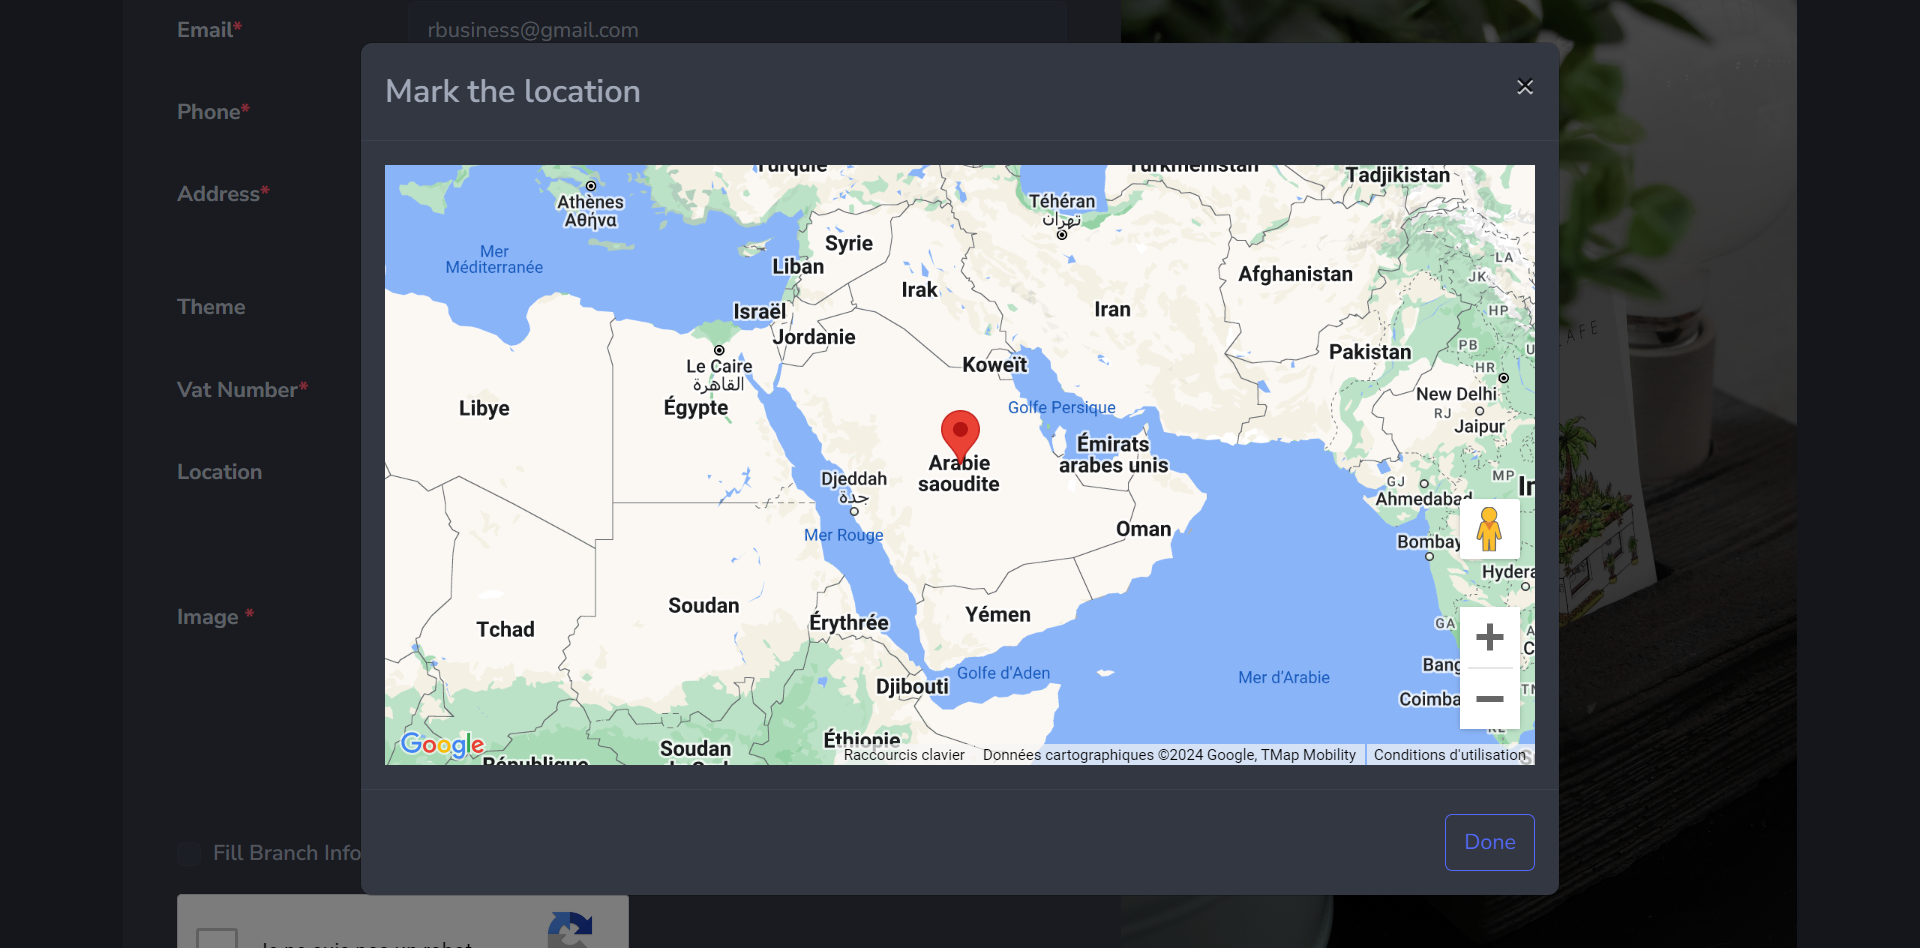
Insert your exact location by clicking on “the location icon”
Add an image of your company’s logo in the “image” section. Once you filled in all the information correctly, check in “Fill in Branch”, to verify if you branch’s detailed loaded correctly, like shown below, feel free to modify if necessary.
Walk through the confirmation or email verification process.
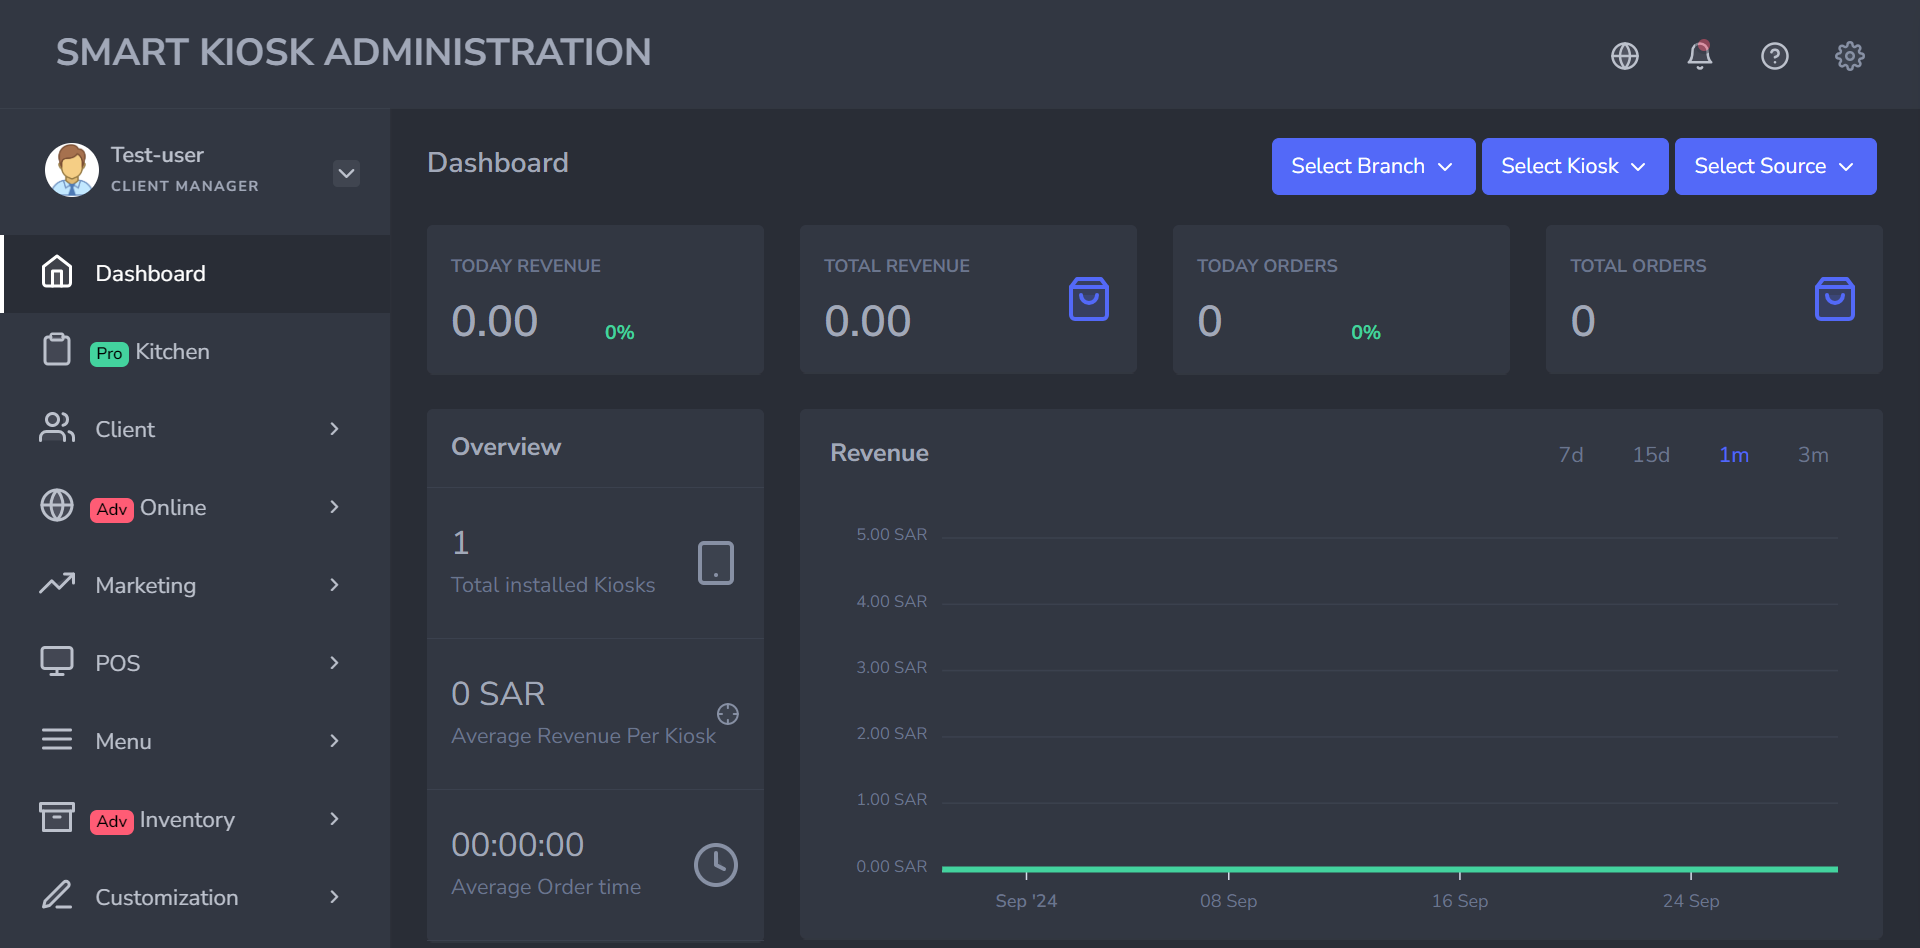
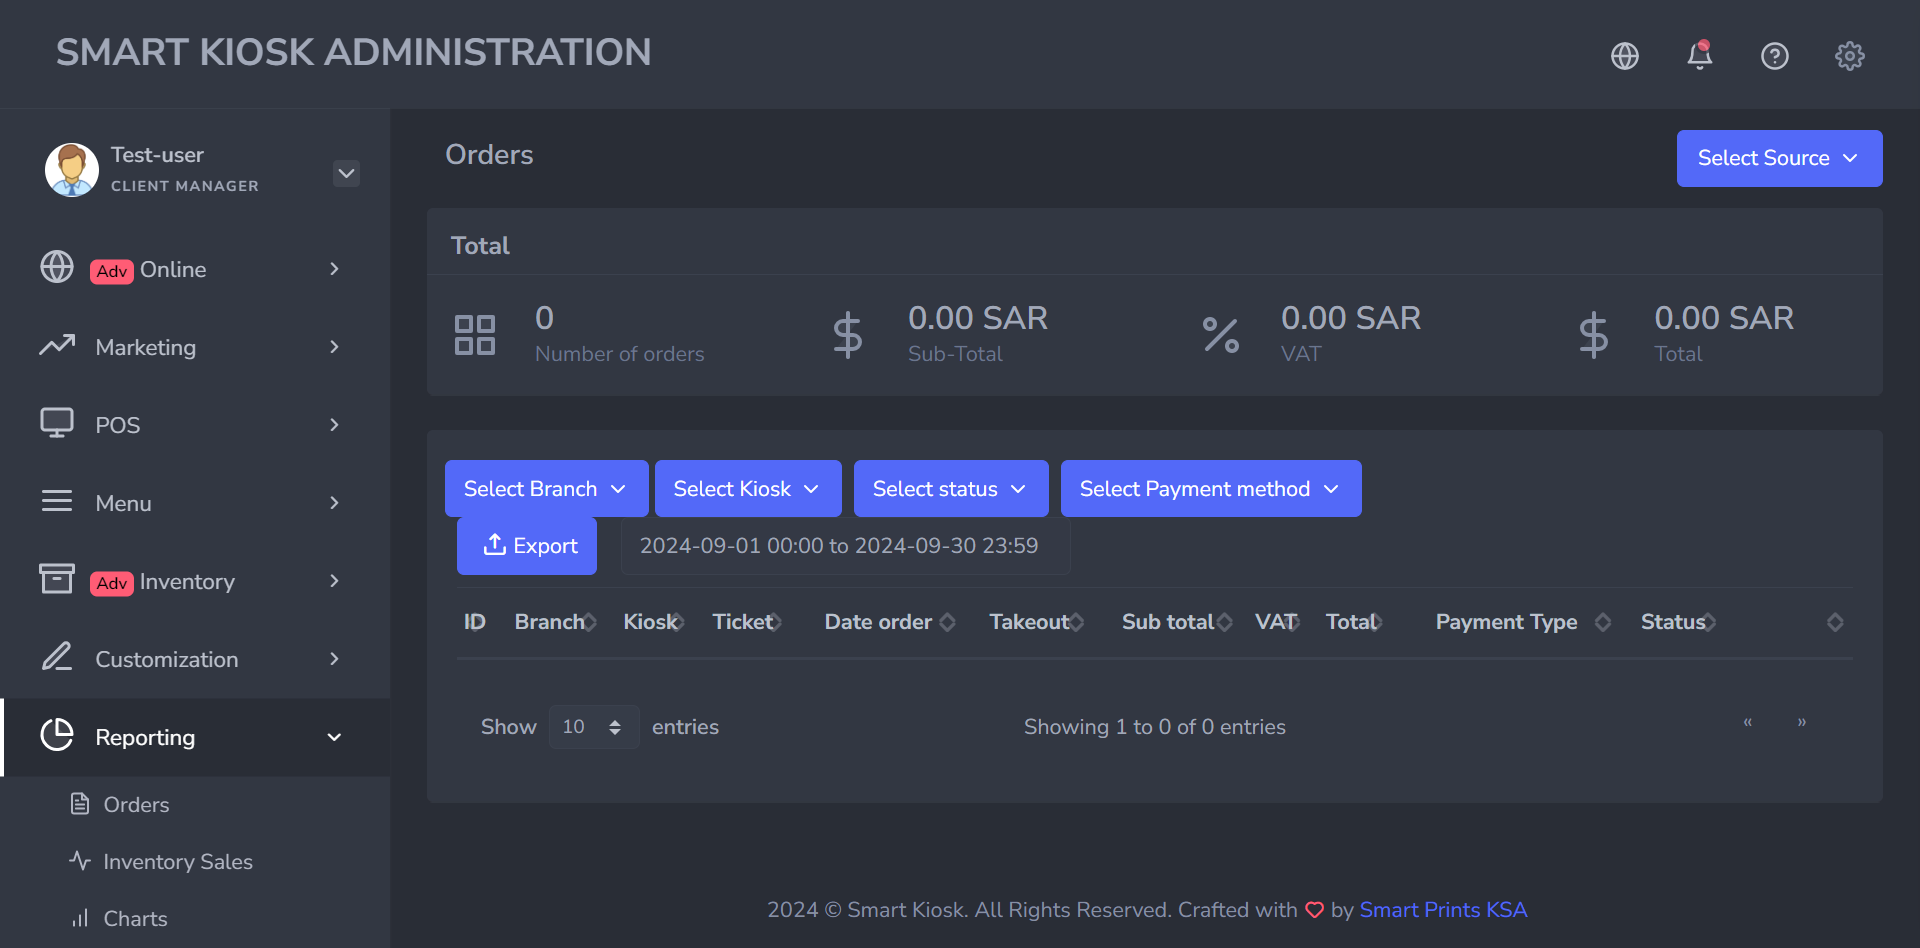
Make sure to check the Captcha box “I’m not a robot” other wise you won’t be able to access the dashboard. Once in, the following Smart Kiosk Administration dashboard screen appears:
On the extreme left, you will notice all the available features of our backend system. Note that while using the free smart POS version, you will only have access to the free features. Features highlighted in green as “Pro” are only available in our POS pro version (click here to check our Pro version subscription). As for the ones highlighted in red as in “Adv”, refers to the Advanced features, which are only accessible to our advanced users (click here to check our Advanced version plan).
Add your Employees
Within the POS system, there are two key subsections (Employee and Shift) that play pivotal roles in managing operations. These subsections enhance the functionality of the POS system, providing detailed insights into employee management and transactional shifts.
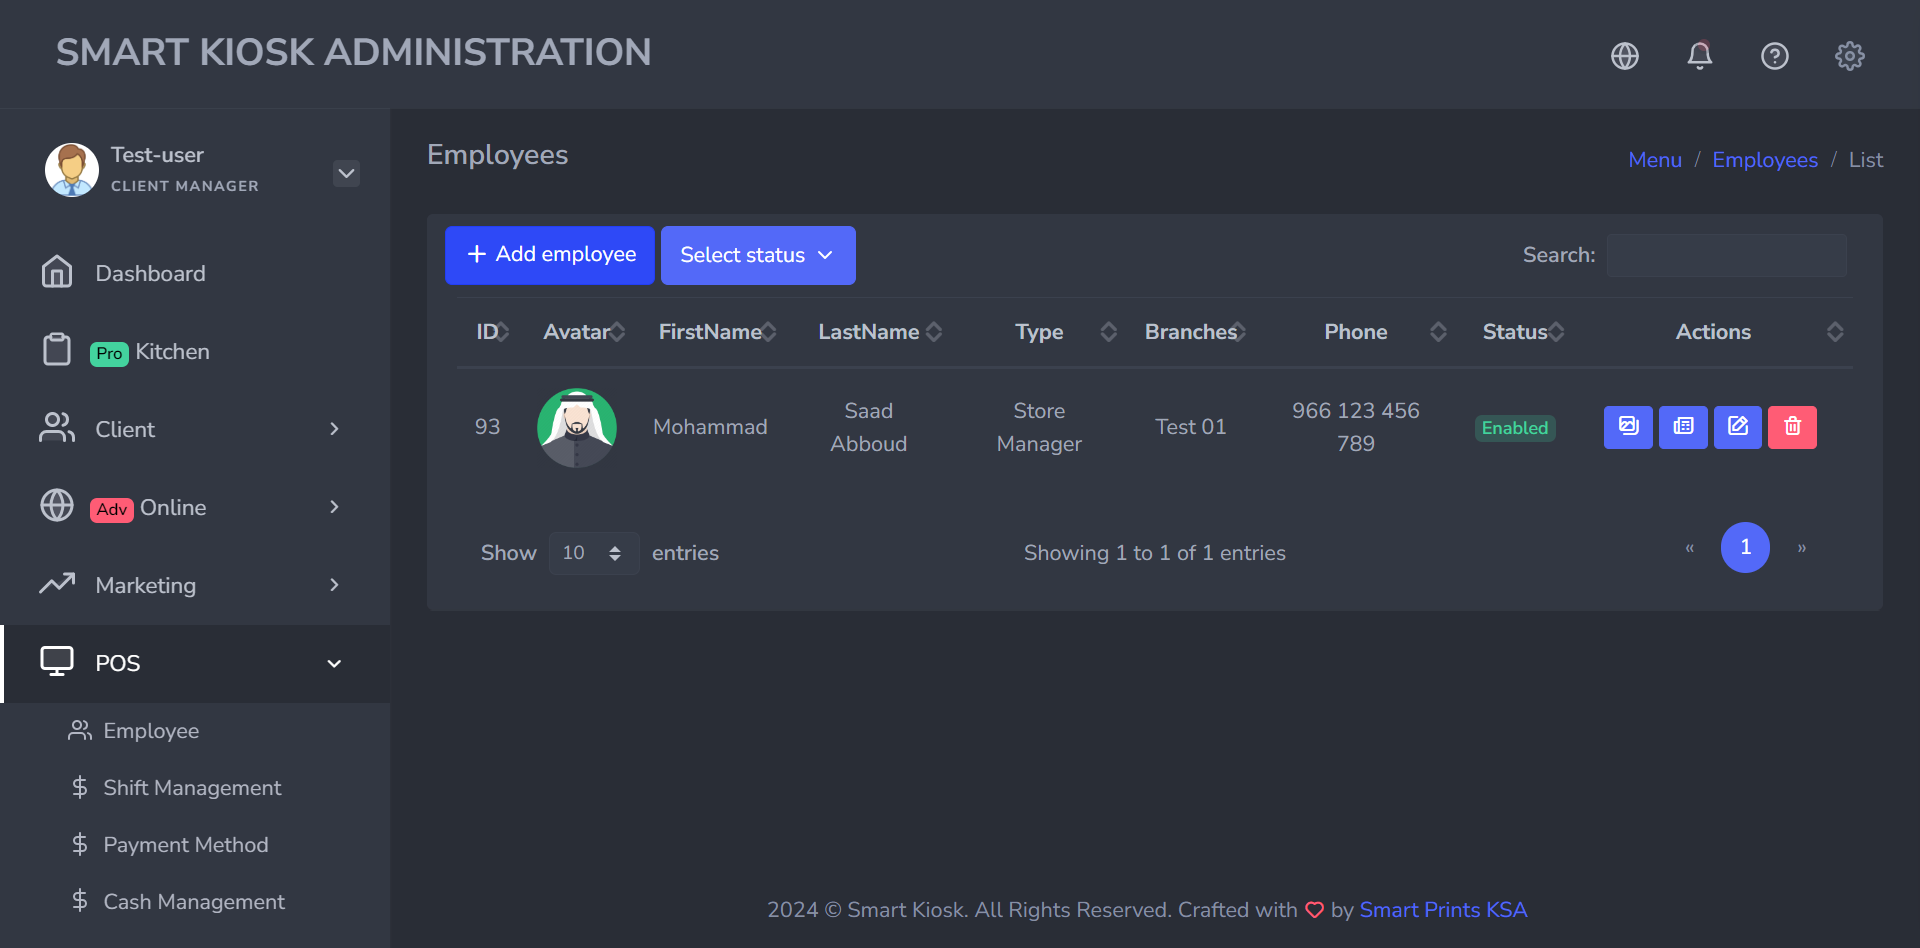
The Employee Management section lets you easily track employee information, including roles, schedules, and performance metrics, ensuring efficient workforce management.
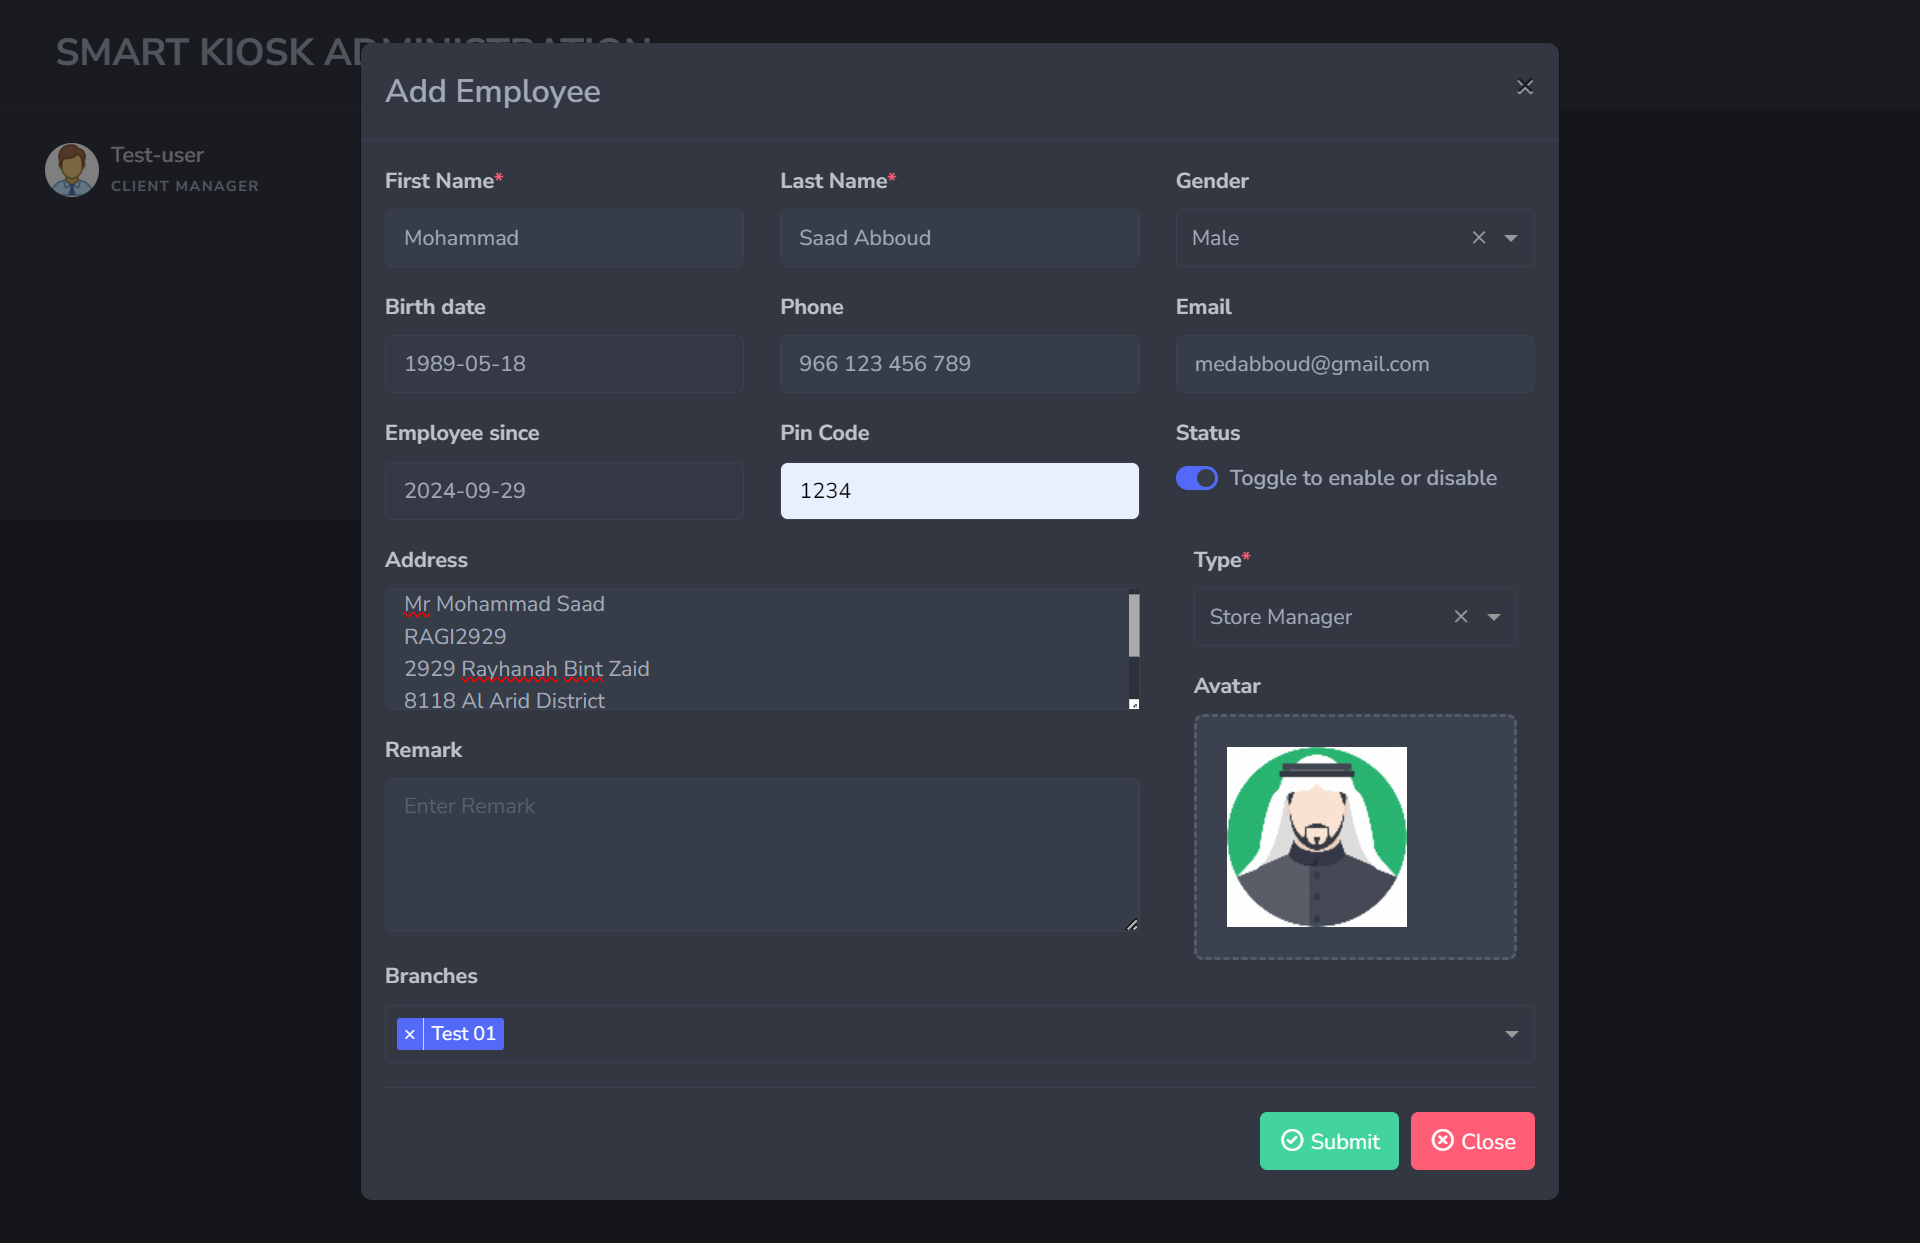
- First Name: The employee's first name.
- Last Name: The employee's family or last name.
- Gender: wither the employee is a male or a female.
- Birth date: Insert the employee’s birth date.
- Phone: The contact number of the employee.
- Email: Employee’s professional email/ the employee’s company email
- Employee since: When did the employee start working
- Pin code: A 4 digit pin code
- Status: Indicates the current status of the employee, whether active (enabled) or inactive (disabled).
- Address: The employee’s address, generally related to work
- Type: either a store manager or a cashier
- Remark: If you have any specific remarks or notes about your employee
- Avatar: Visual representation, typically an image or icon associated with the employee.
- Branches: Specifies the branch or branches to which the employee is assigned.
- Refer to the image above.
- After you employee was added successfully, it will appear as follows:
Shift Management
The Shift Management section streamlines the process of scheduling and monitoring employee shifts, helping to optimize labor costs and improve operational efficiency. Together, these sections enhance overall staff coordination, allowing businesses to focus on providing exceptional service while maximizing productivity. You can only open a new shift or close an existing one from our PoS App and not the backend administration.
- The Shift subsection is represented by the following parameters:
- ID: A unique identifier for each shift, allowing accurate tracking.
- Branch Employee: Specifies the employee associated with the shift.
- Business Date: The date on which the shift operates.
- Opened At: The time at which the shift begins.
- Opening Amount: The initial amount or balance at the start of the shift.
- Closing Amount: The amount or the balance at the end of the shift.
- Expected Amount: The anticipated amount or balance for the shift.
- Closed At: The time at which the shift ends.
Add your Payment Methods
To streamline your payment processes, you can create and customize payment methods, such as cash, credit cards, or digital wallets. Add all payment types your business accepts under the ‘Payment Methods’ tab, ensuring smooth transactions for customers.
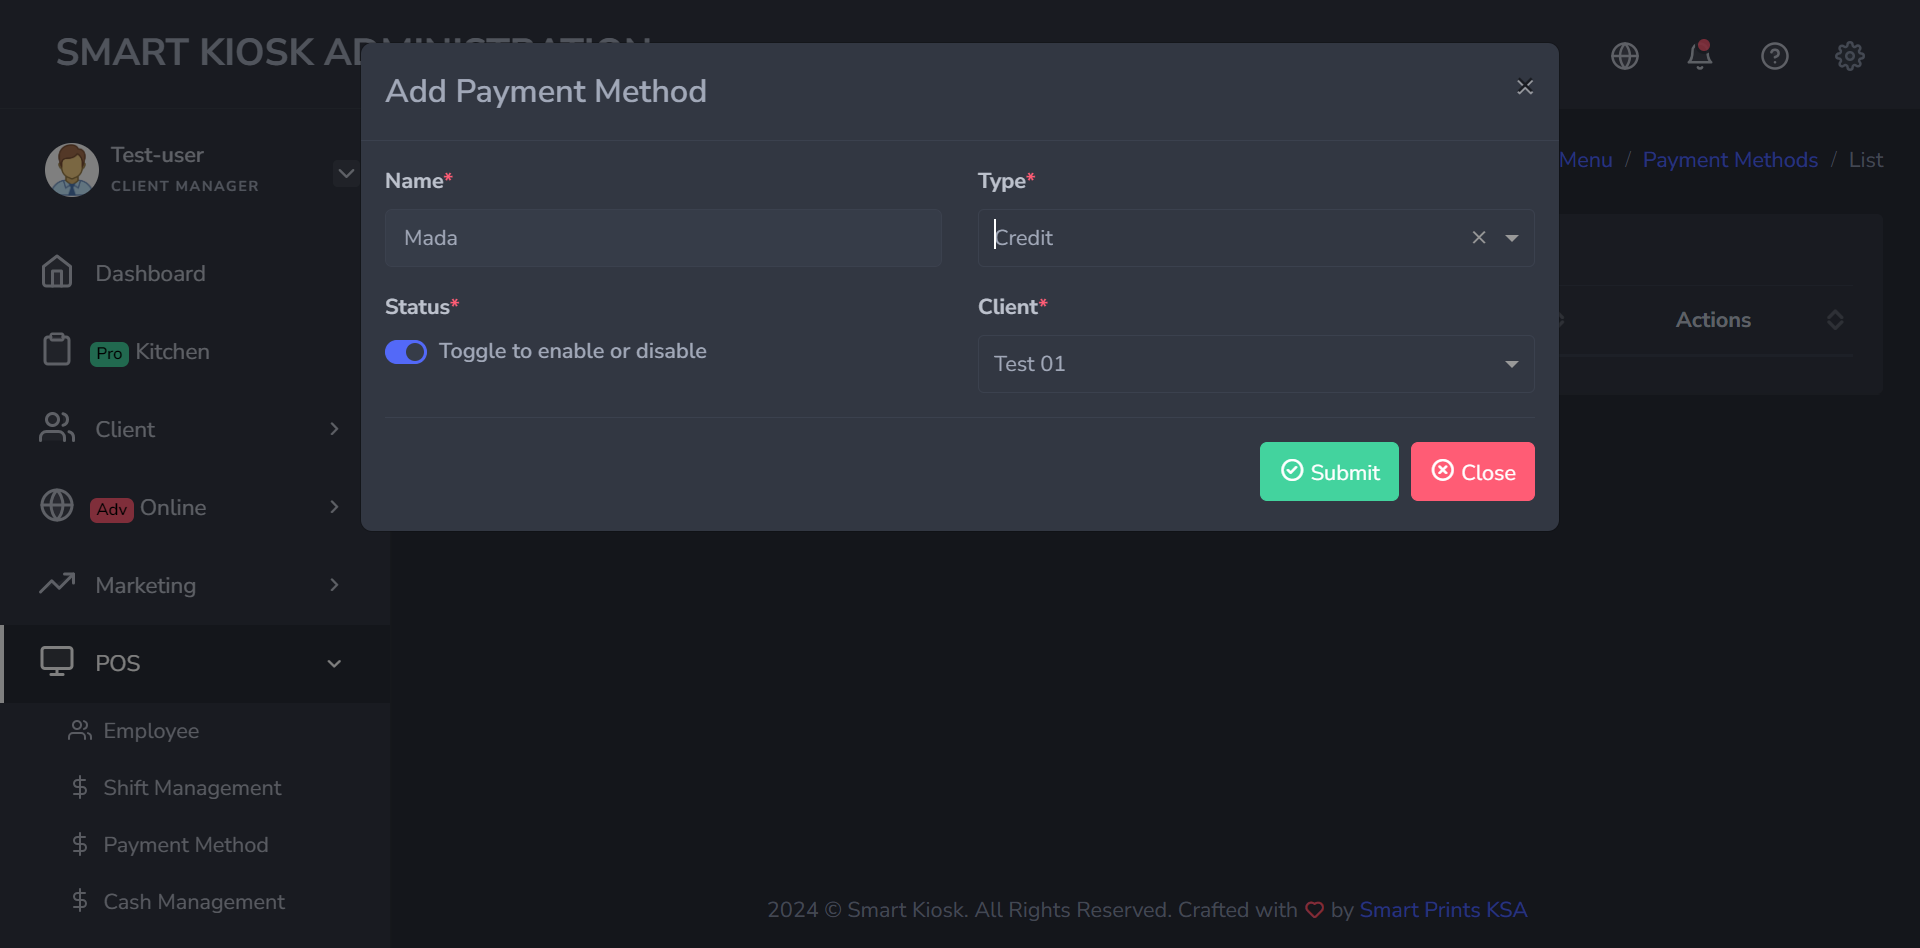
To add a payment method, click on the blue section above ‘add payment method’, then fill in the name of the payment method, and select its type, either a debit card or cash, as follow:
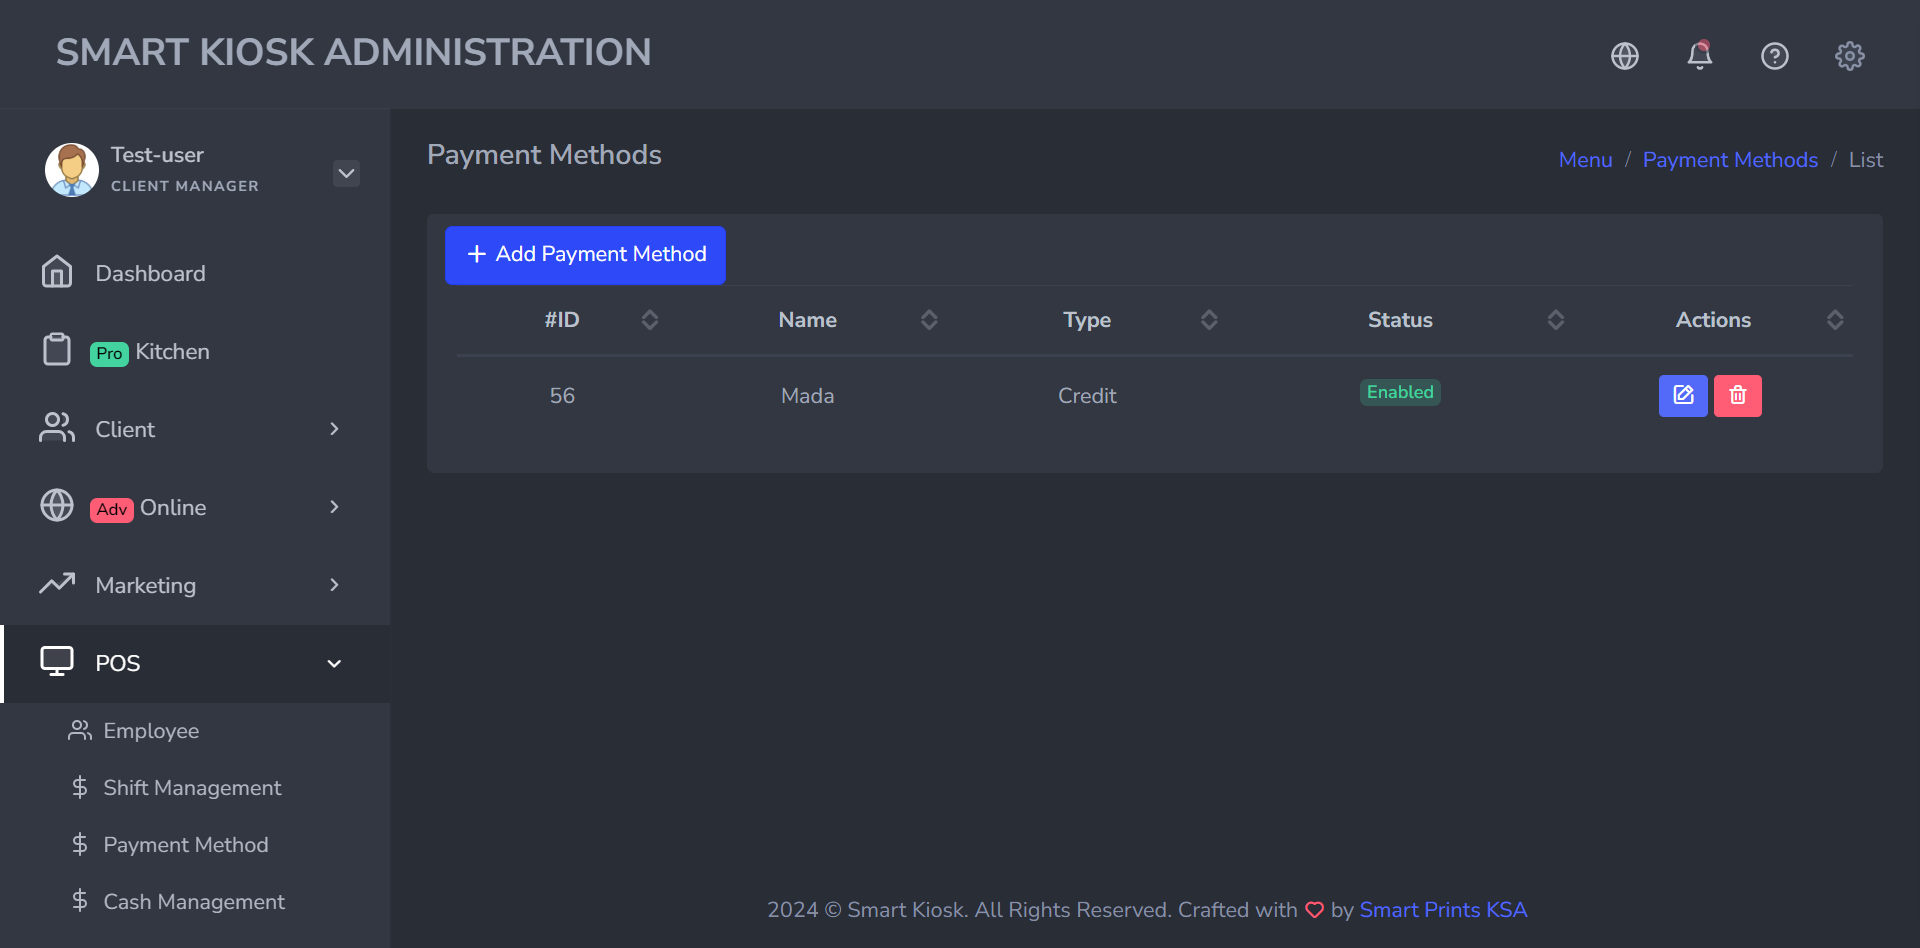
The added payment method will appear as follows:
Products & Categories
This section is essential since it is responsible for monitoring and keeping track of all products and items sold through the kiosk. It is divided into four sections: Products, Categories, Options, and Family Option. To organize your offerings by creating a structured menu. Here’s how to get started:
- Creating Product Categories: Organize your products into categories like 'Drinks', 'Main Course', 'Desserts'. This will make it easier for both employees and customers to navigate your menu.
- Creating Family Options and Options: Add family options like drink sizes or spice levels. Then, create customizable options for each product, such as toppings or extra ingredients.
- Creating Products and Configuring Options: After setting up categories and options, enter individual products into the system, such as 'Cappuccino', 'Cheeseburger', or 'Fries', and link relevant options like sizes or add-ons.
- Create Groups and Offers: Create groups of products, such as combo meals or bundles, and set up special offers and discounts to enhance customer value.
- Sort Your Menu: (this feature is not available for free plans) it enables your once all items are added, you can rearrange and prioritize products or categories based on your business’s needs, making it intuitive for quick selection during busy hours.
Categories
To add a category, first click on 'menu' and then 'categories'. After click on 'Add category,' and this window will pop up, empty. Make sure to fill up the parameters explained below:
- Name: Enter the category name you want for your product (soup, sandwich, drink...).
- Description: You can add a description here, but it's optional.
- Tags: This is how the software will identify your category when your client types it on the kiosk screen. Keep it simple and general (it can be the same as the name). Once chosen, click 'enter' to save it.
- Once everything is set, add an image to your product, then click 'SUBMIT.'
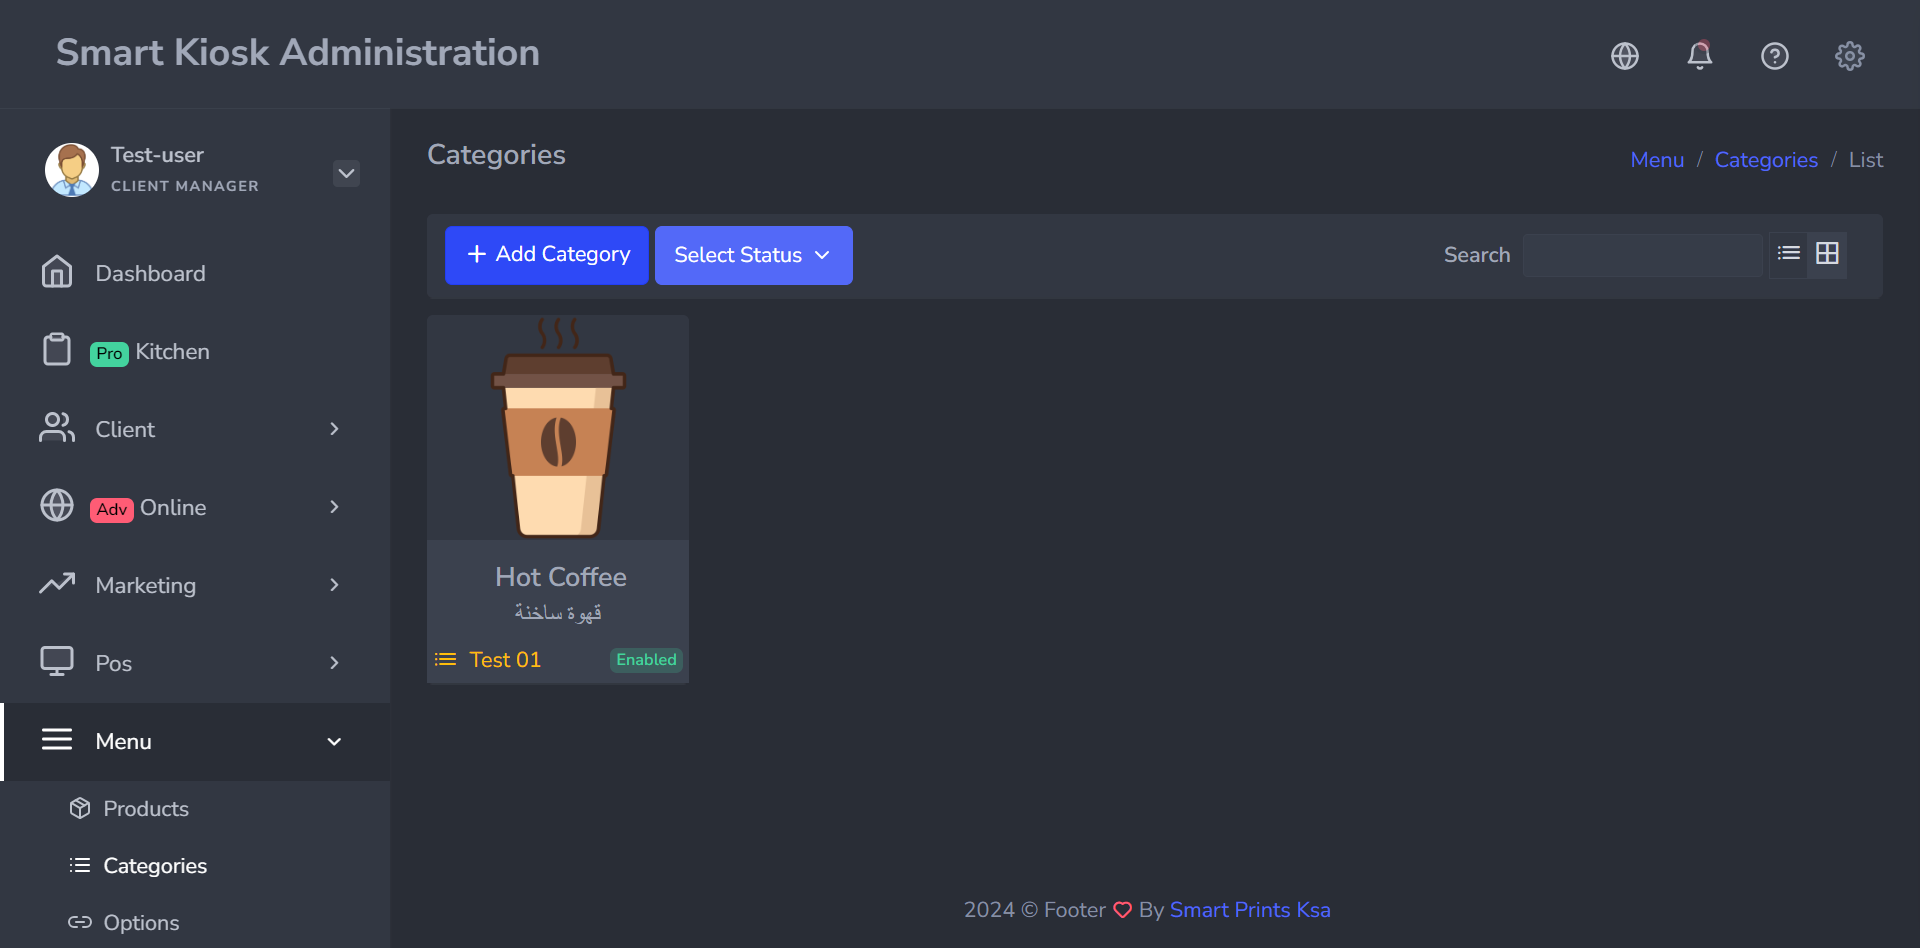
- The created category should look like this:
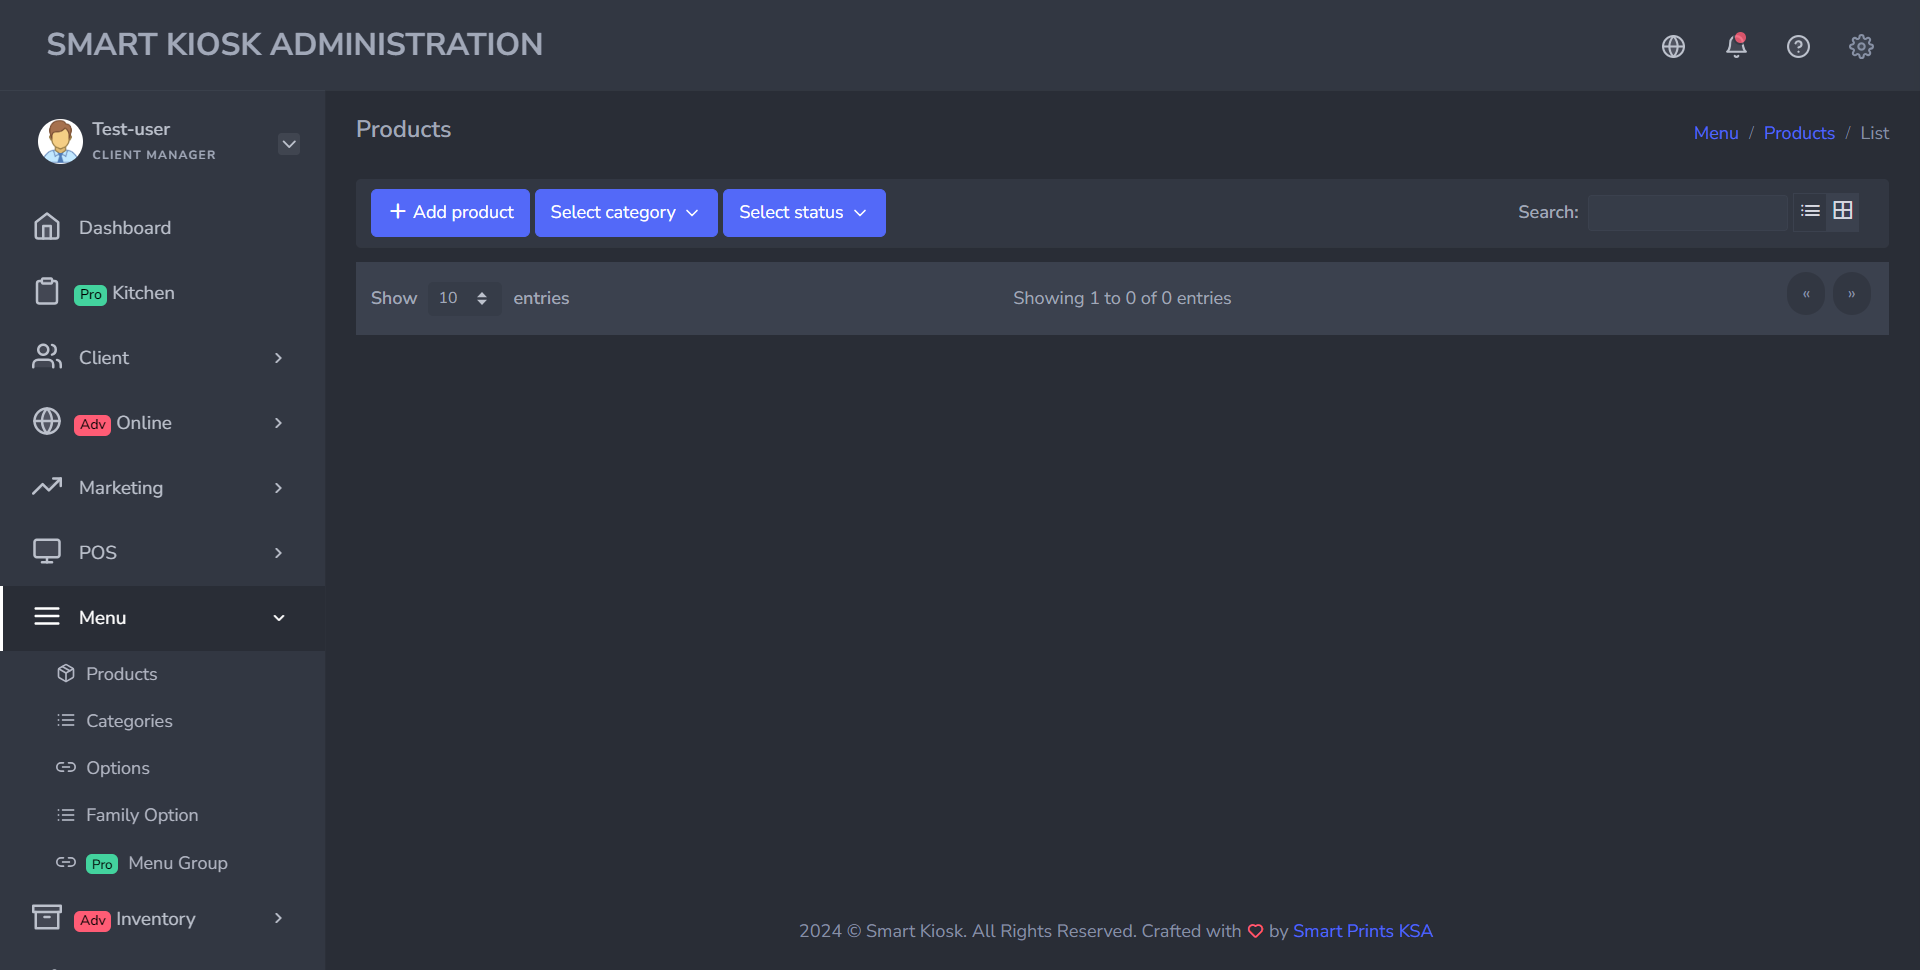
Products
After finalizing the creation of a category (for example: Hot Drinks), we can now add the products that belong to this respective category.
Products are the various items and goods available for selection or purchase. Each product has distinct characteristics that you can customize using the option feature, For instance, if you're ordering a burger, the burger is the "Product,” and within this product, you can then select various options like the type of bread, the size, or any additional toppings.
To add a new product, click on “Add product,” and this window will pop up. Follow the fill-in process illustrated in the image below:
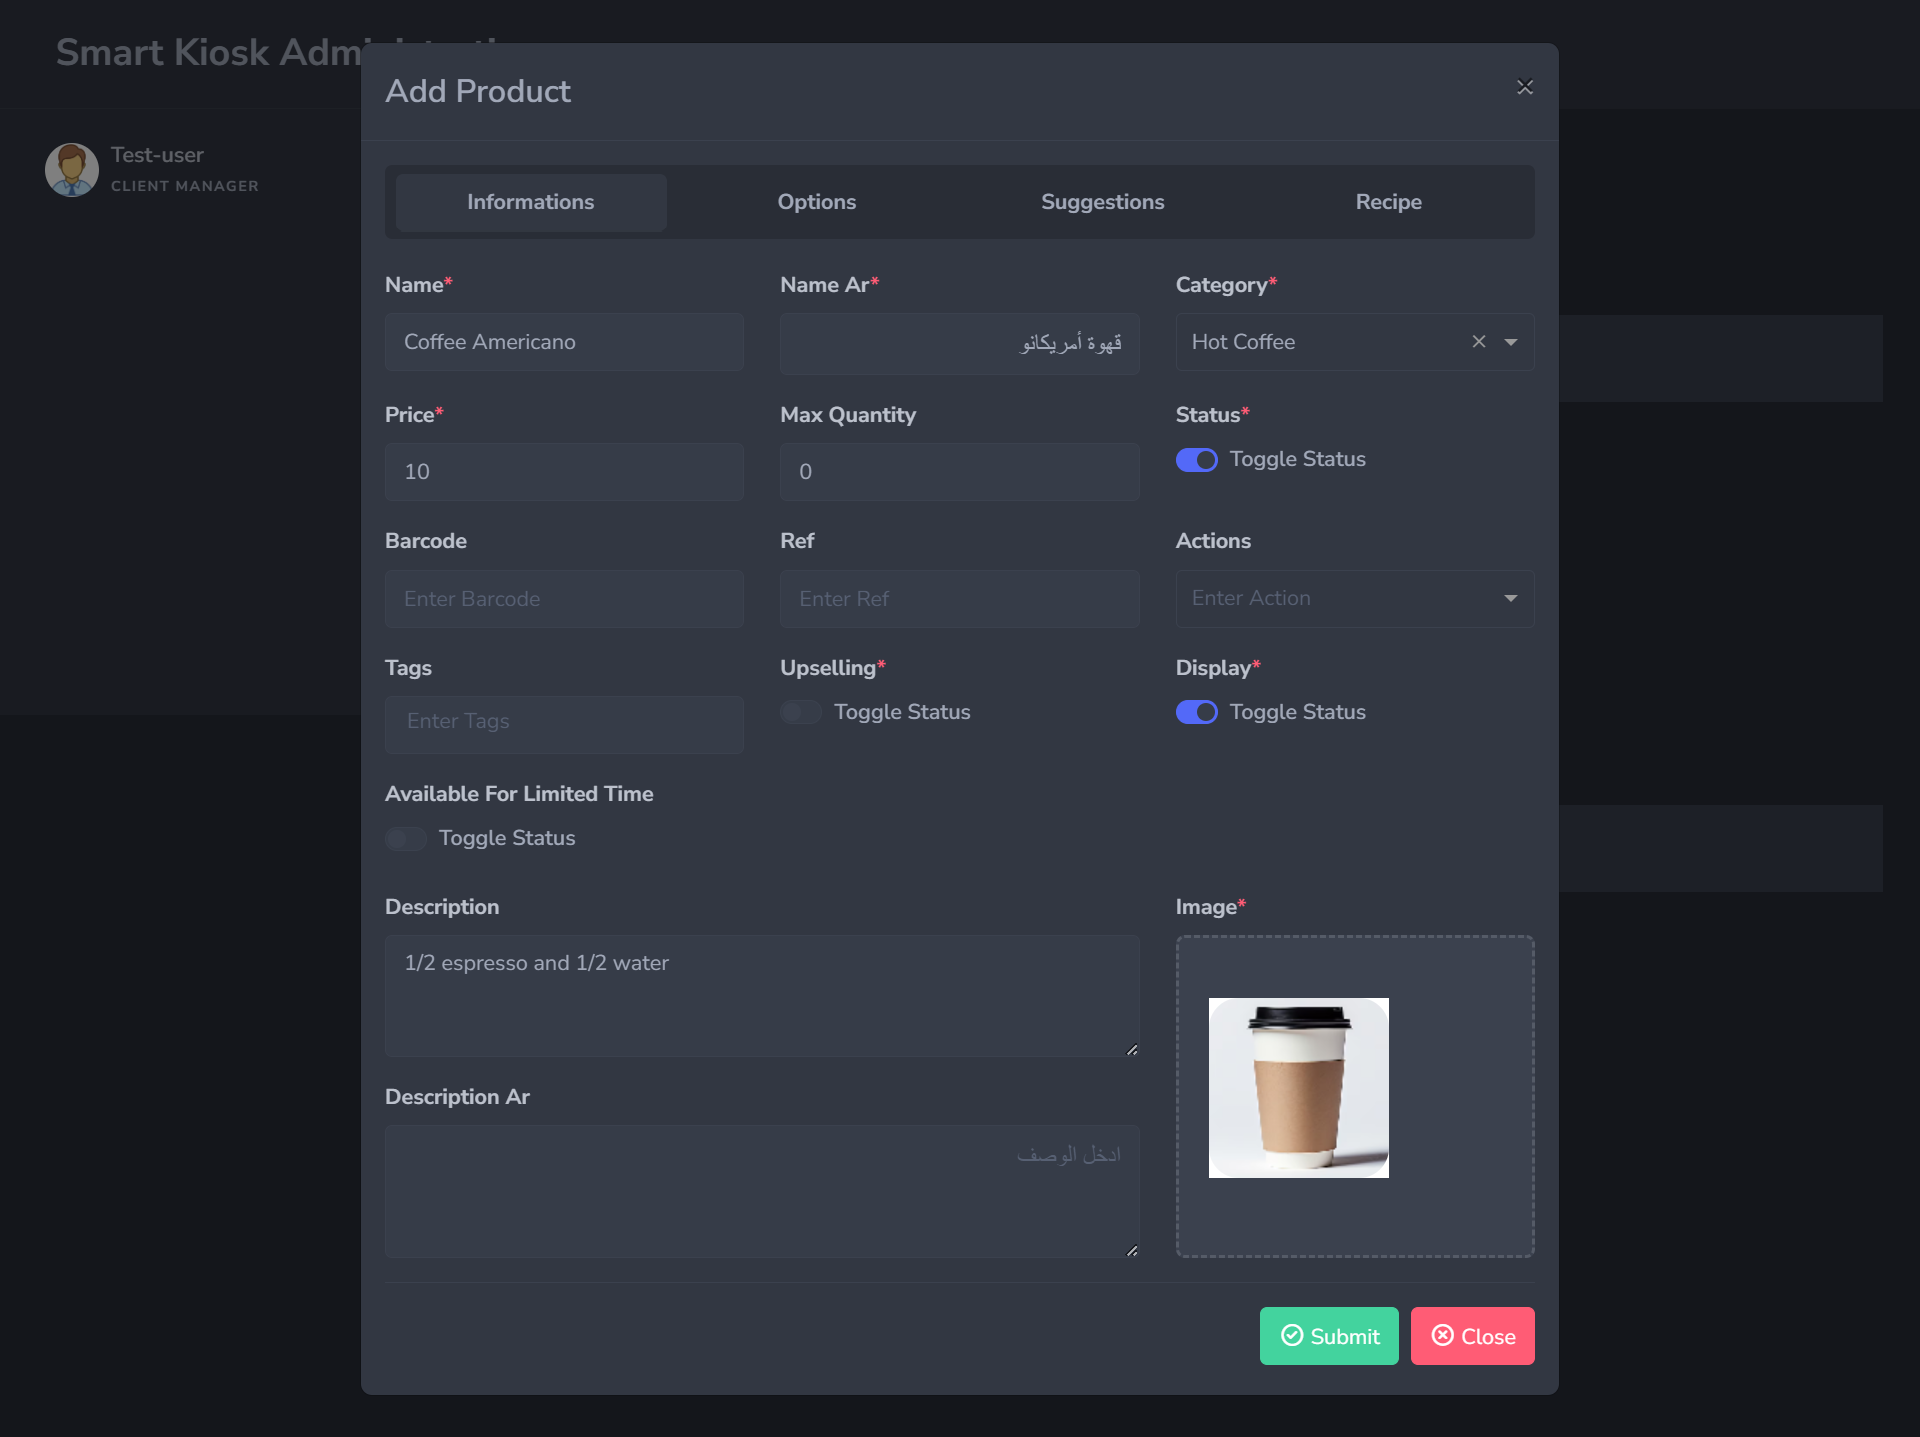
- Name: Enter your desired product’s name.
- Name (Arabic): Write the product's name in Arabic, if applicable.
- Category: Select the appropriate category under which the product falls.
- Price: Specify the price you want for your product.
- Max Quantity: Define the maximum quantity of the product allowed per order, if applicable.
- Status: Indicate the current status of the product, whether enabled (available) or disabled (not available).
- Barcode: Assign a unique barcode to the product.
- Ref: Include a reference number for internal tracking.
- Action: Choose the action associated with the product (for example, search POS+ and enter SKU).
- Tags: Add relevant tags for easy categorization and search. Make sure to press “Enter” on your keyboard for the tag to be correctly added.
- Upselling: Specify if the product is part of an upselling strategy.
- Display: Set the preferred display options for the product (enabled or disabled).
- Available for a Limited Time: If applicable, indicate whether the product is available for a limited time.
- Description: Provide a comprehensive description of the product if needed.
- Image: Upload an image of the product for a clear visual representation.
- Description (Arabic): Include the product description in Arabic, if applicable.
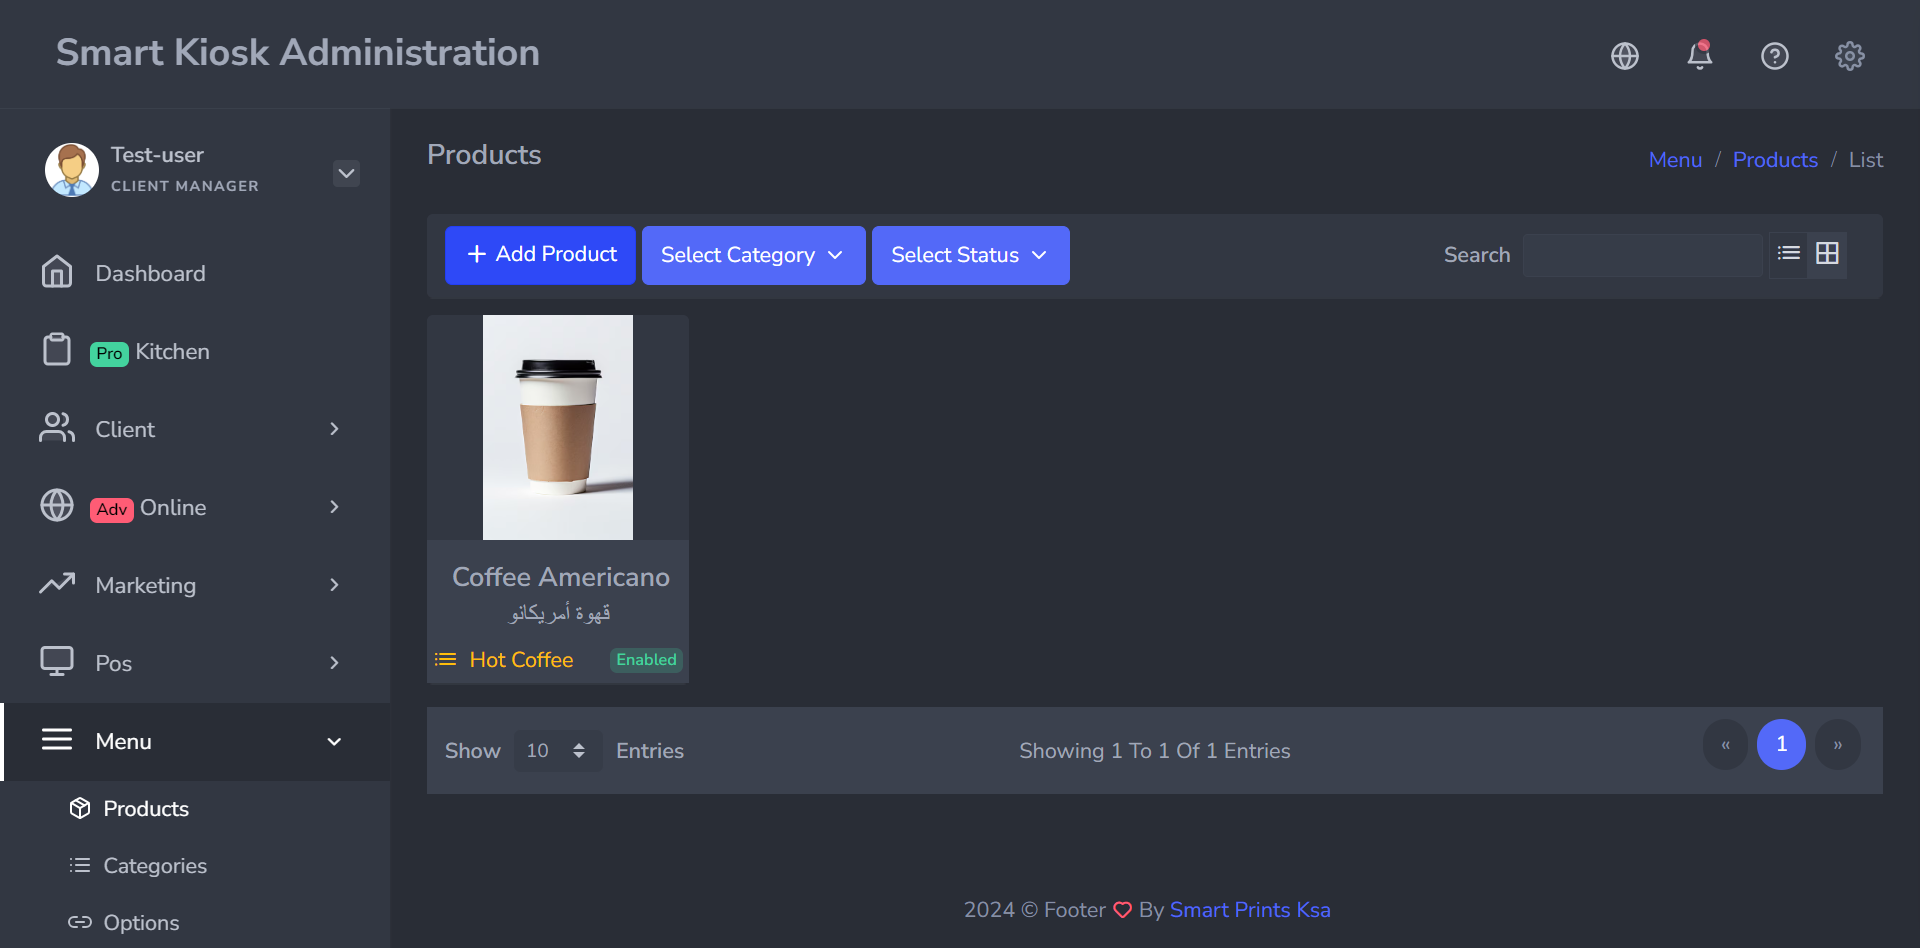
- The final added product will look as follows:
Family Options & Options
Similarly to the logic used in “Categories” and “Products”, this section refers to the overall set to which a specific option belongs. For example, "size" is the family option that includes different sizes like small, medium, large, and extra-large; it represents the broader set of choices within a particular product option.
We can break it down as follows:
- Family Option: size (encompassing small S, medium M, large L, and extra large XL)
- Option: (e.g., XL)
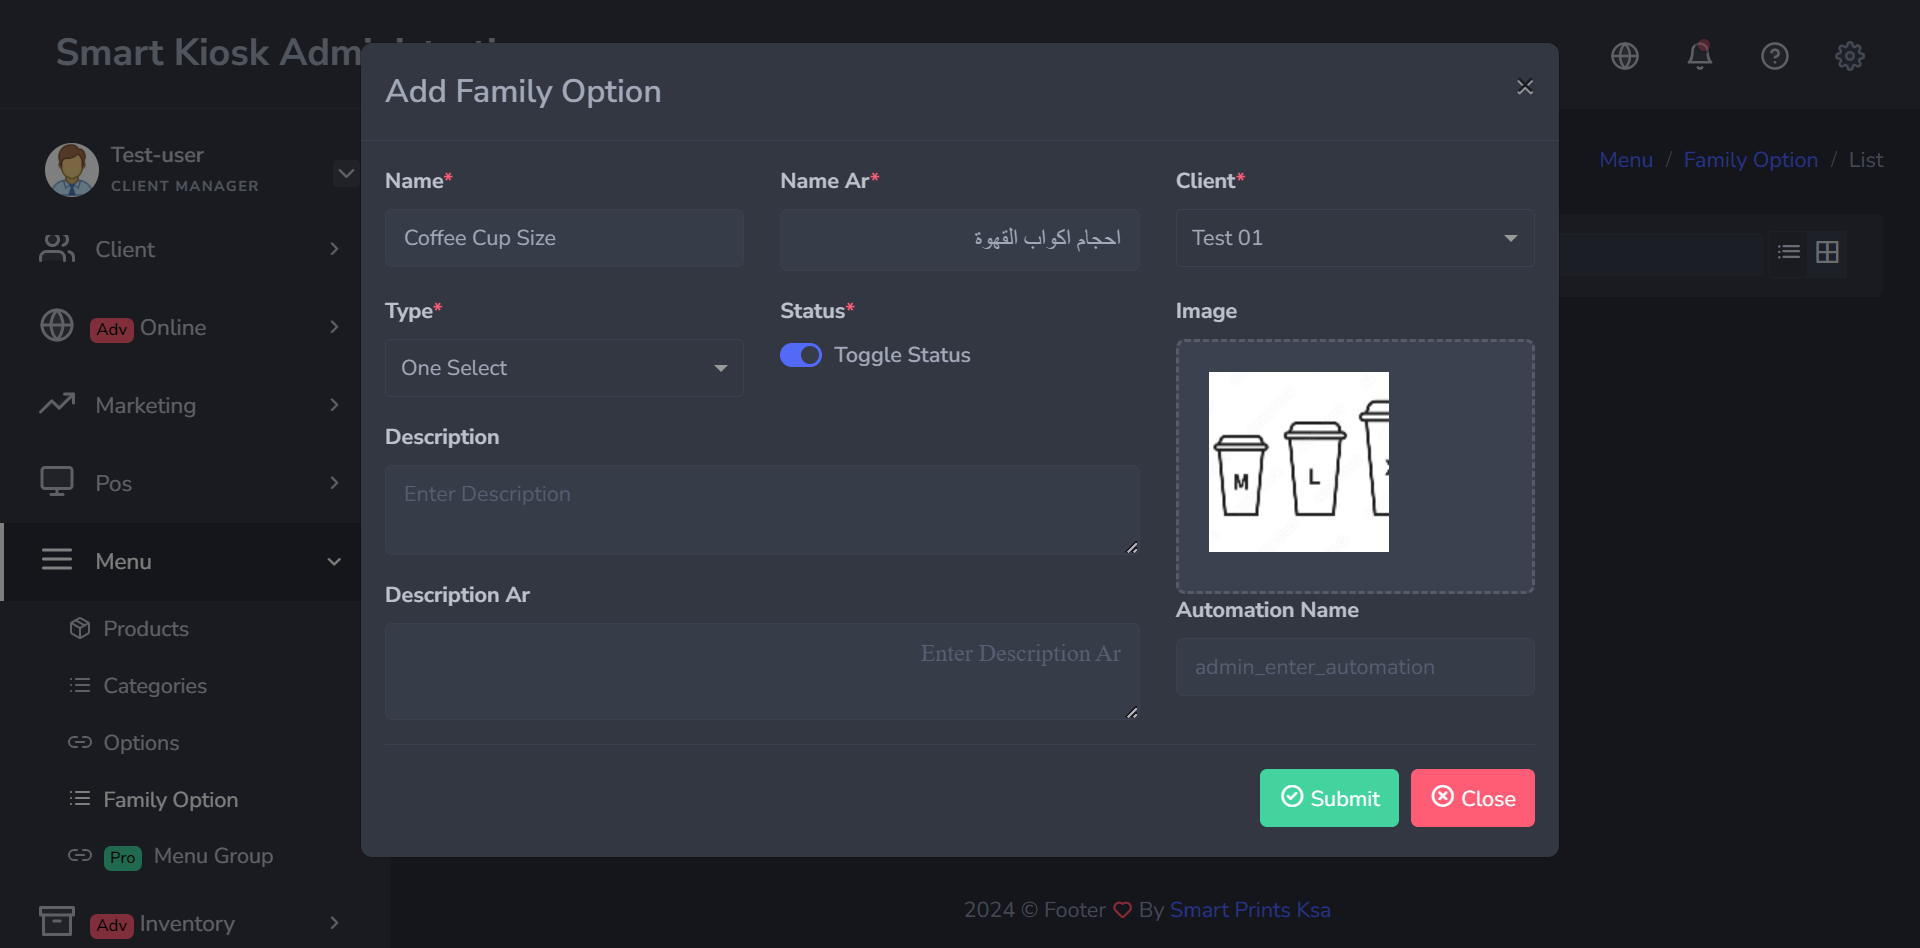
To view the family option's section, click on ‘Family Option’, then click on ‘Add family option', the following window appears:
- Name:Inter your desired family option’s name.
- Name (Arabic): Write the family option's name in Arabic, if applicable.
- Type: Either it is a one selection or a multi-selection family option.
- Status:Indicate the current status of the family option, whether enabled (available) or disabled (not available).
- Description: Provide a comprehensive description of the family option if needed.
- Image: Upload an image of the family option for a clear visual representation.
- Description (Arabic): Include the family option’s description in Arabic, if applicable.
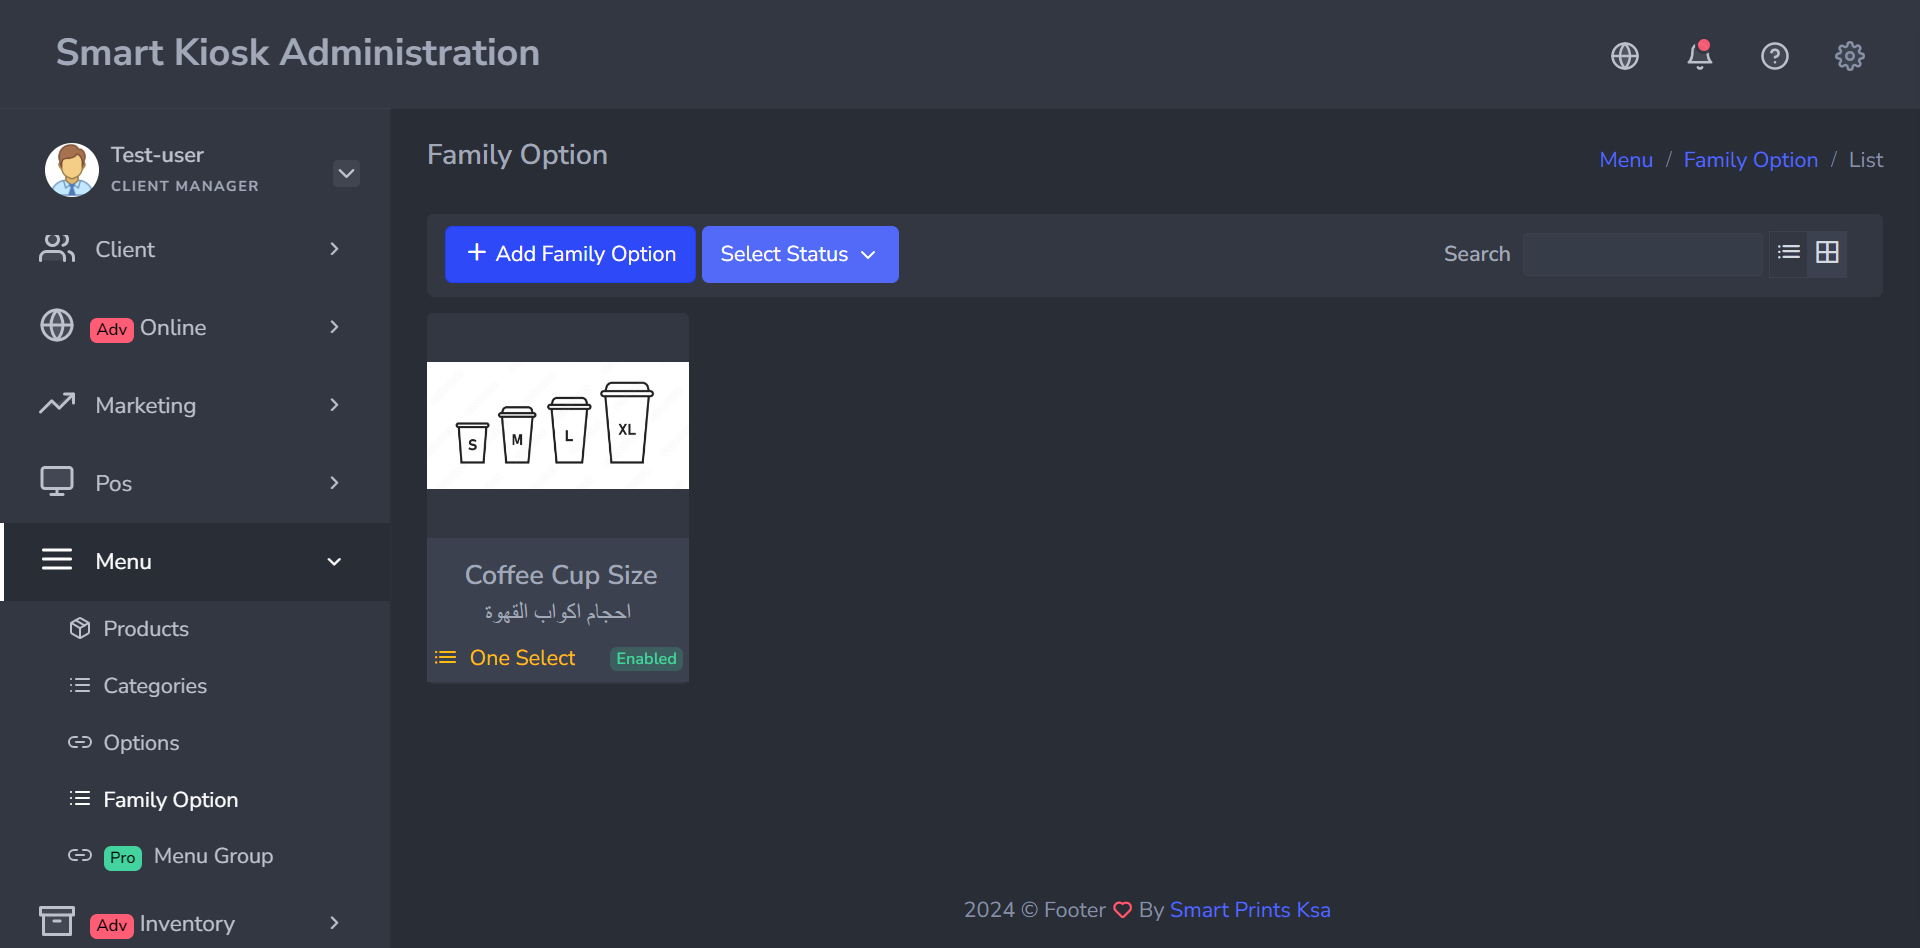
- The final added family option will look as follows:
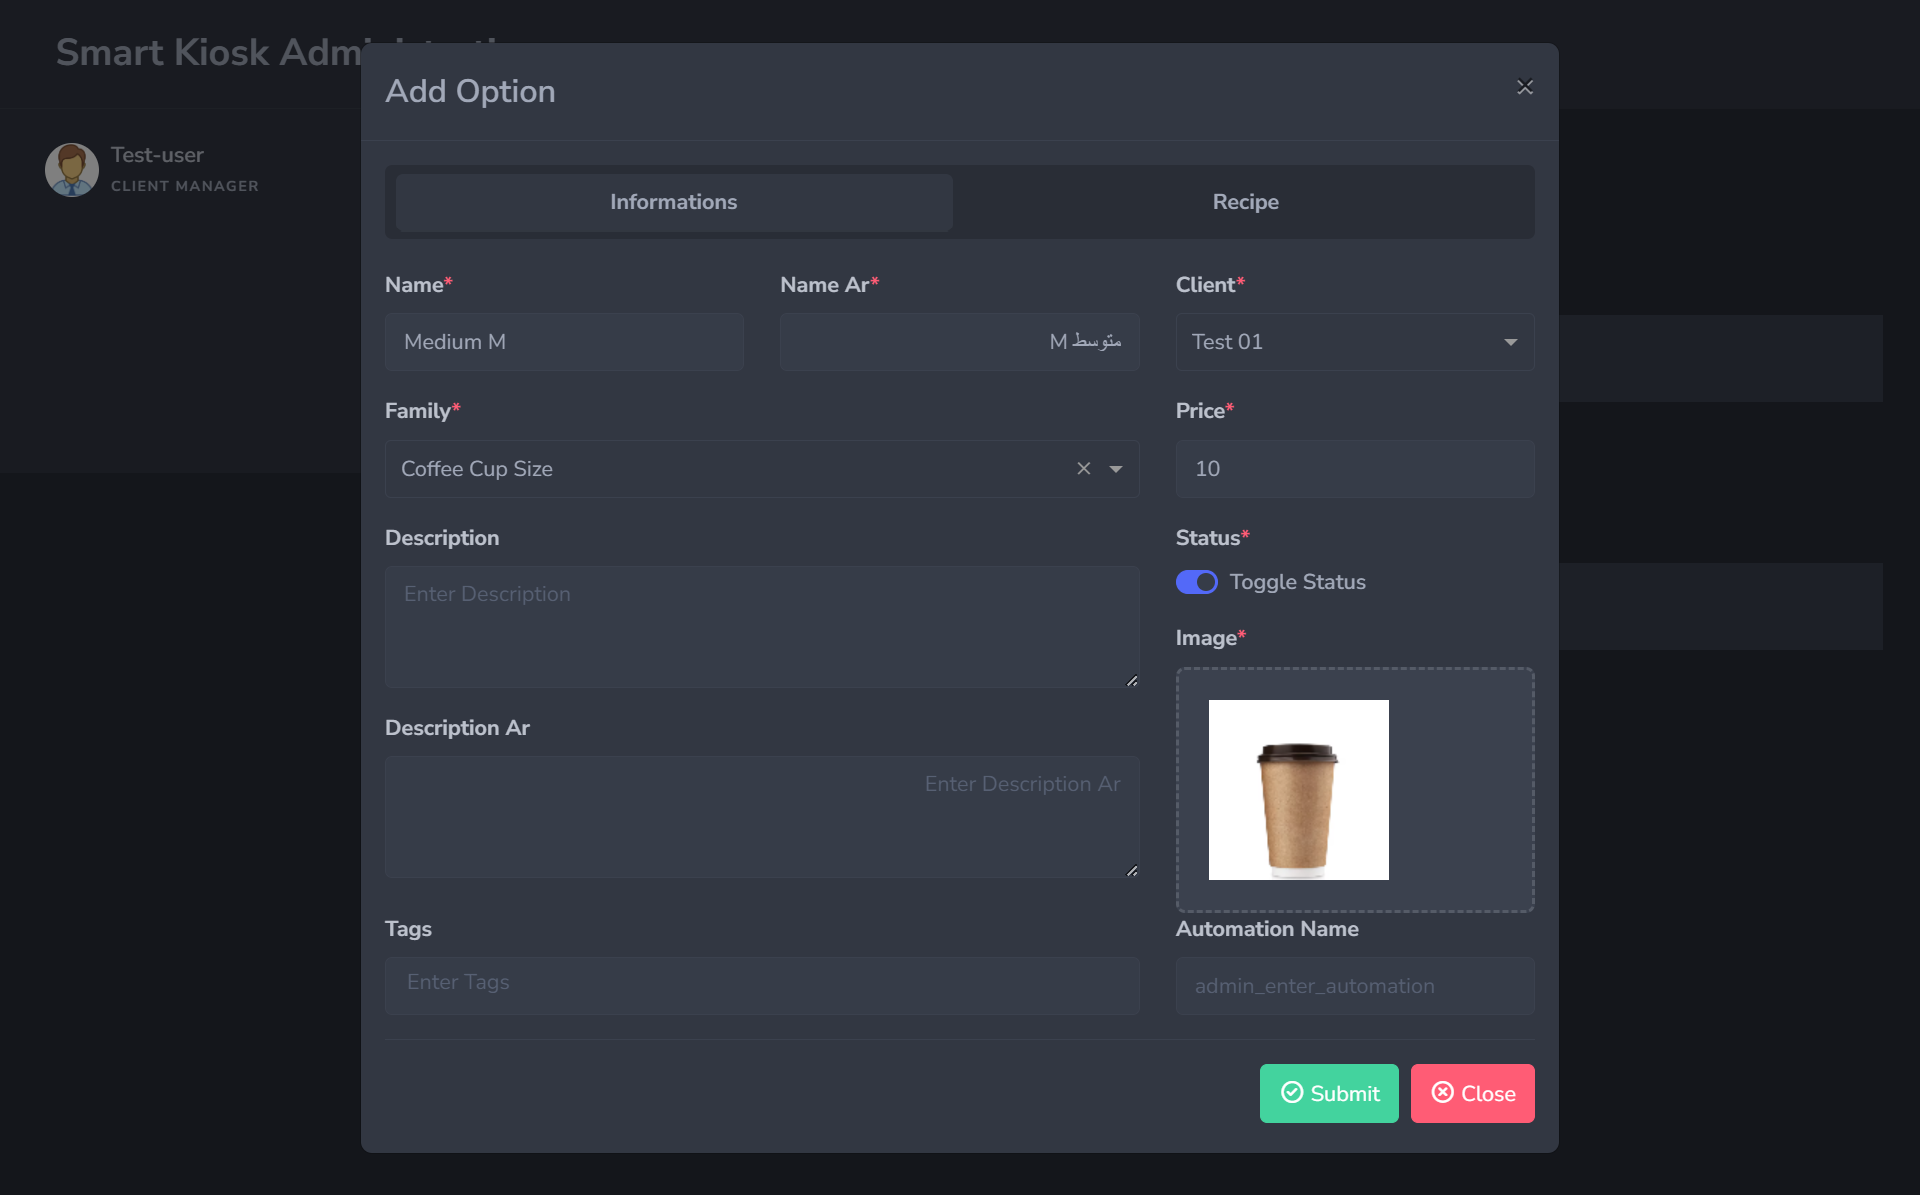
Represents the different set of choices a product could have, for example, the product coffee can come in different sizes as , small “S“, medium “M“, large “L“, and even extra-large “XL“. All these are considered as the coffee’s options.
Click on “Add Option“, and fill in the window as follows:
- Name:Inter your desired option’s name.
- Name (Arabic): Write the option's name in Arabic, if applicable.
- Family: Choose the family option under which your option falls.
- Price:Specify the price you want for your option.
- Description: Provide a comprehensive description of the option if needed.
- Status:Indicate the current status of the option, whether enabled (available) or disabled (not available).
- Image: Upload an image of the option for a clear visual representation.
- Description (Arabic): Include the option’s description in Arabic, if applicable.
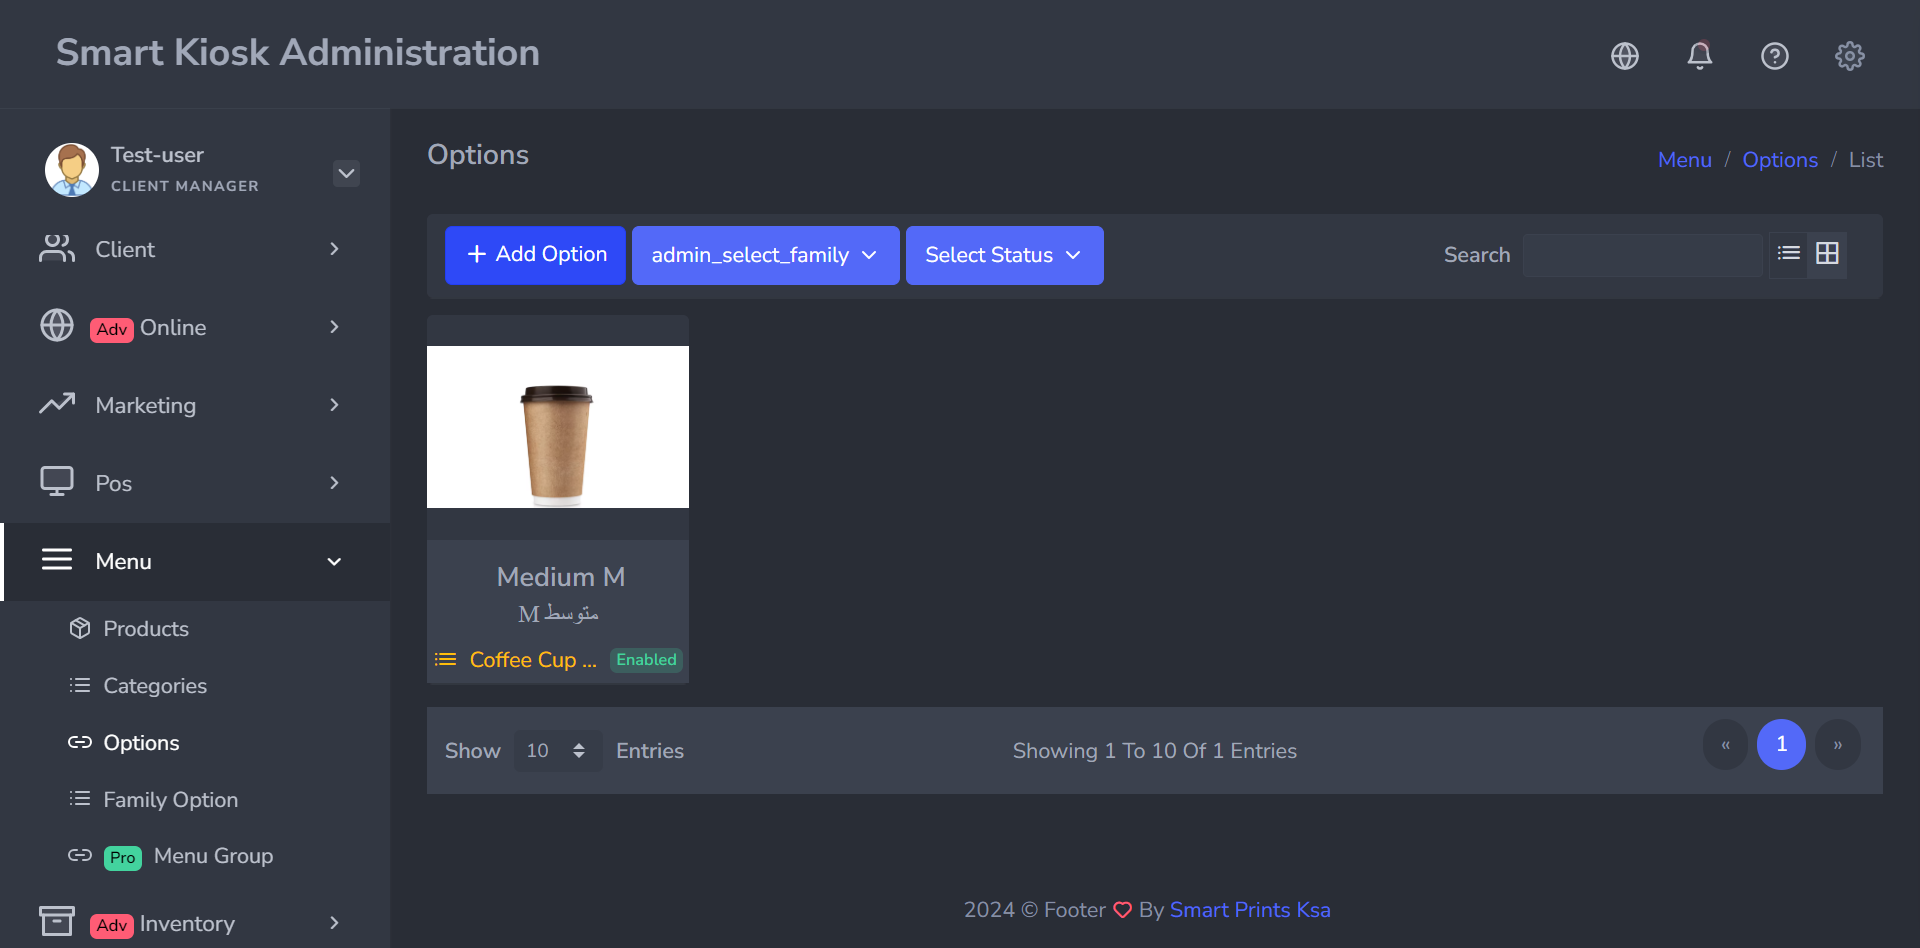
- The final added option will look as follows:
Groups & Offers
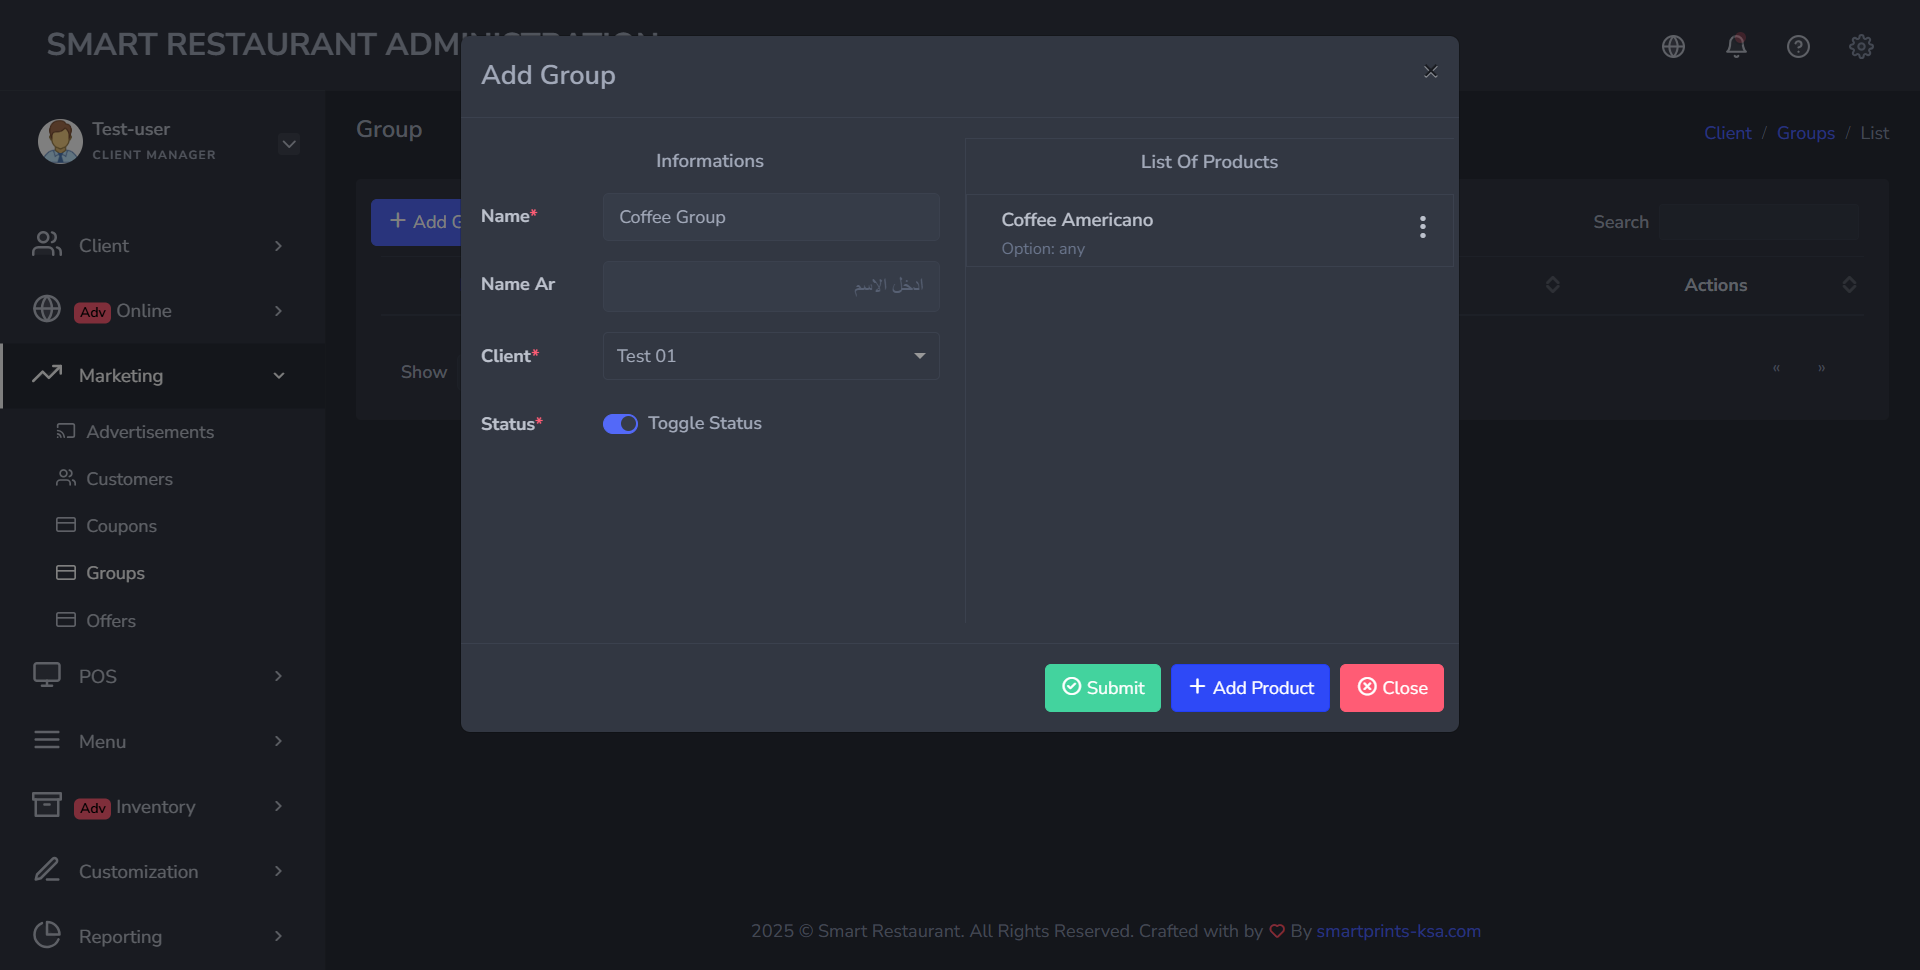
To add a group, navigate to "Marketing" in the menu on the left, then scroll to "Groups", after that click on "Add group" and follow the instructions below:
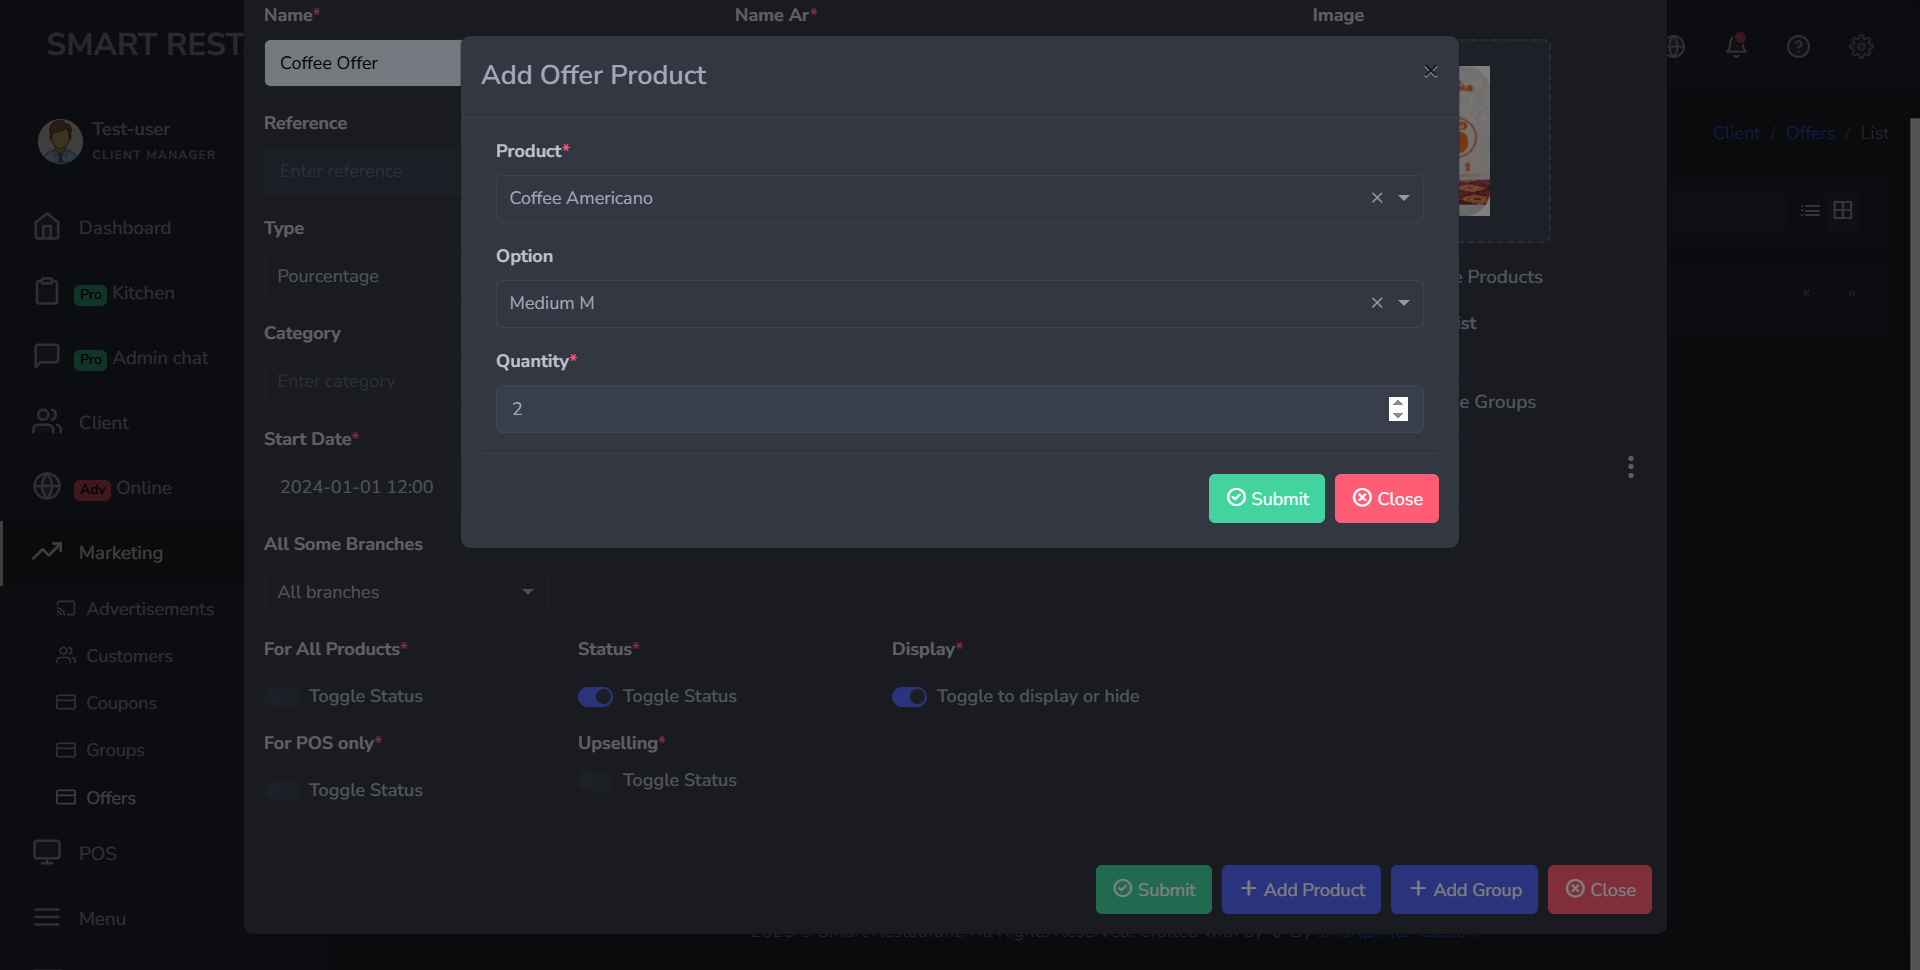
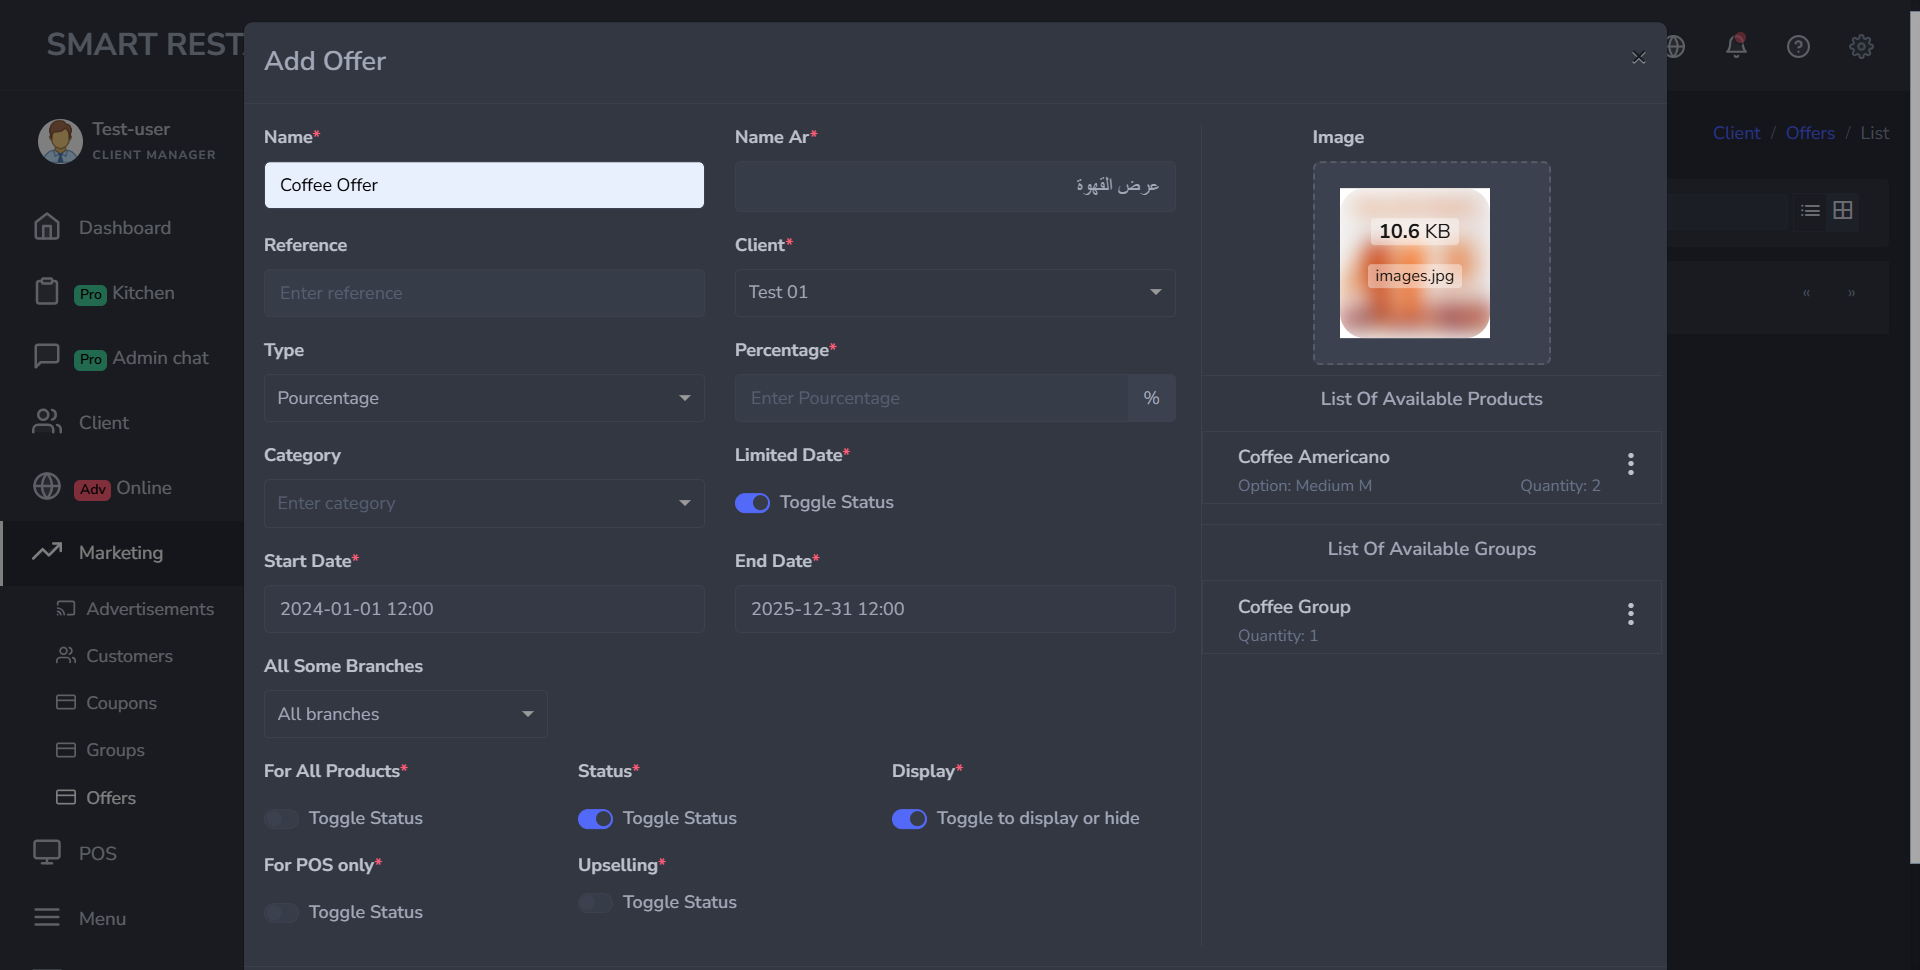
To add an offer, and on the same "Marketing" section in the menu on the left, scroll to "Offers", after that click on "Add offer" and follow the instructions below:
You can add to an offer: products and groups or boths at the same time, a shown below:
Sort Menu
Scroll down to "Customization" in the menu bar on the left, then head to "Sort Menu", click on it and you willhave the folllowing screen desplayed, you can now customize your menu and organize how it is sorted based o your needs and preferences.
Install the PoS App
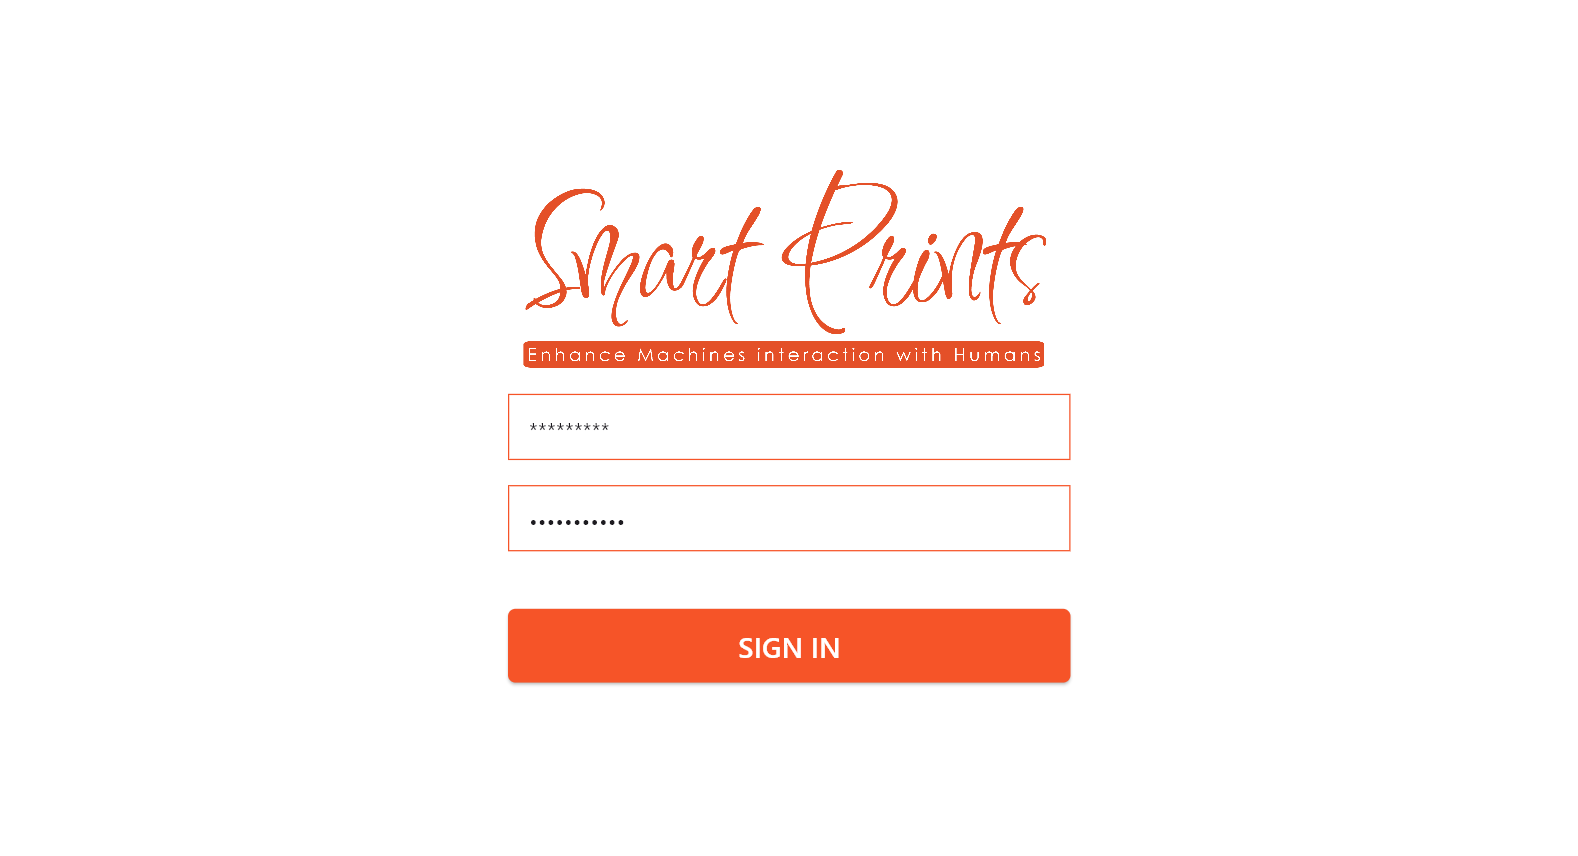
Install the POS app on the device(s) you’ll be using in your store. Whether it's a tablet, PC, or POS terminal, download the app, log in with your credentials, and your POS system is ready to go. First of all, loging into the app using your creadentials as follows:
Wait few minutes for all the data to be properly installed:
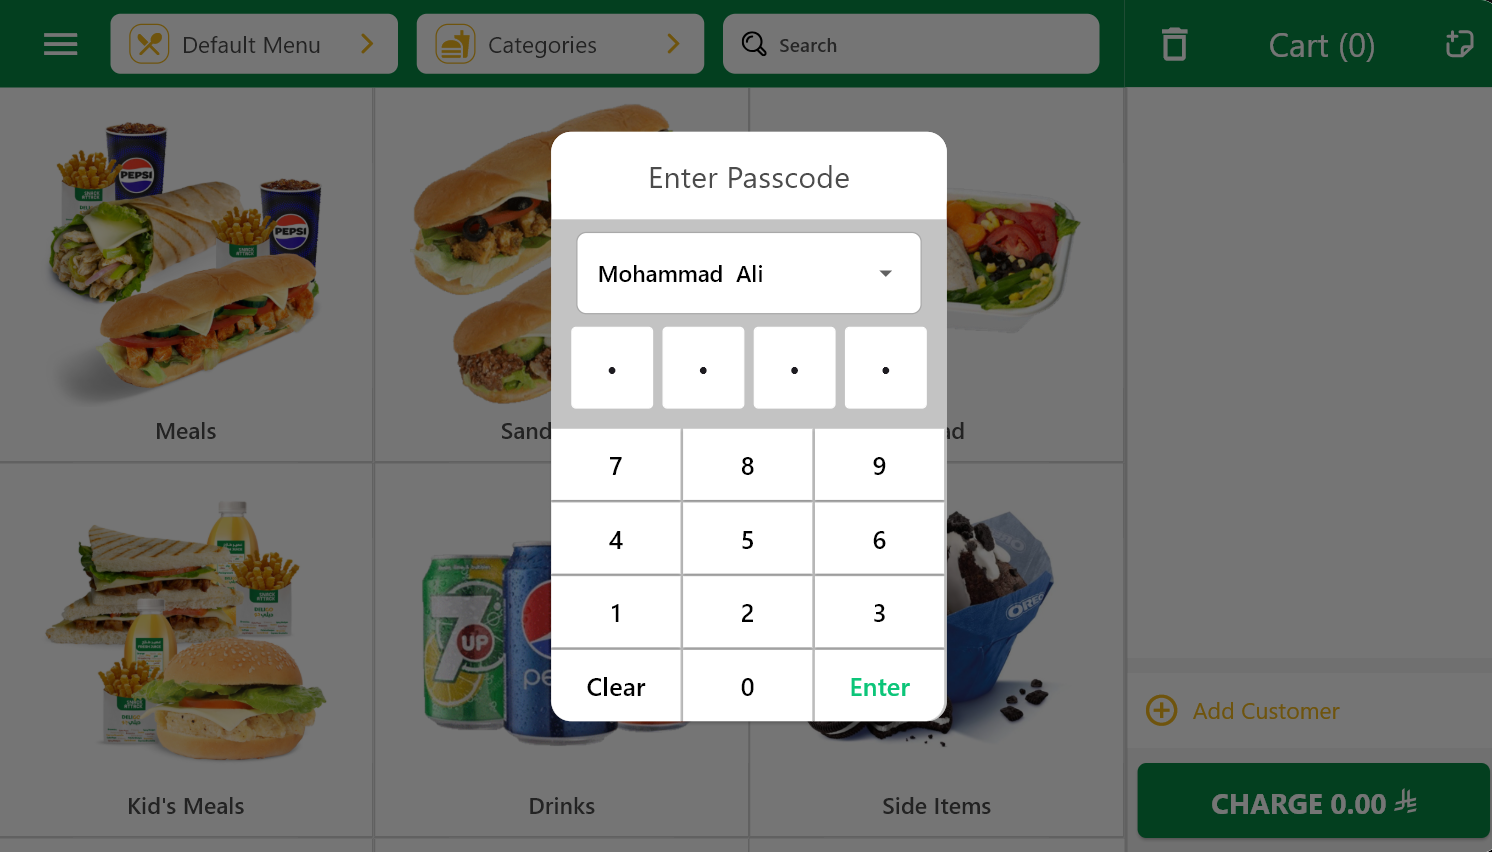
After that, choose which employee is trying to login and enter the appropriate passcode to start the POS App: